LVGL is very slow - STM32F7 SSD1963 P16 - Advice on how to optimise it?
What MCU/Processor/Board and compiler are you using?
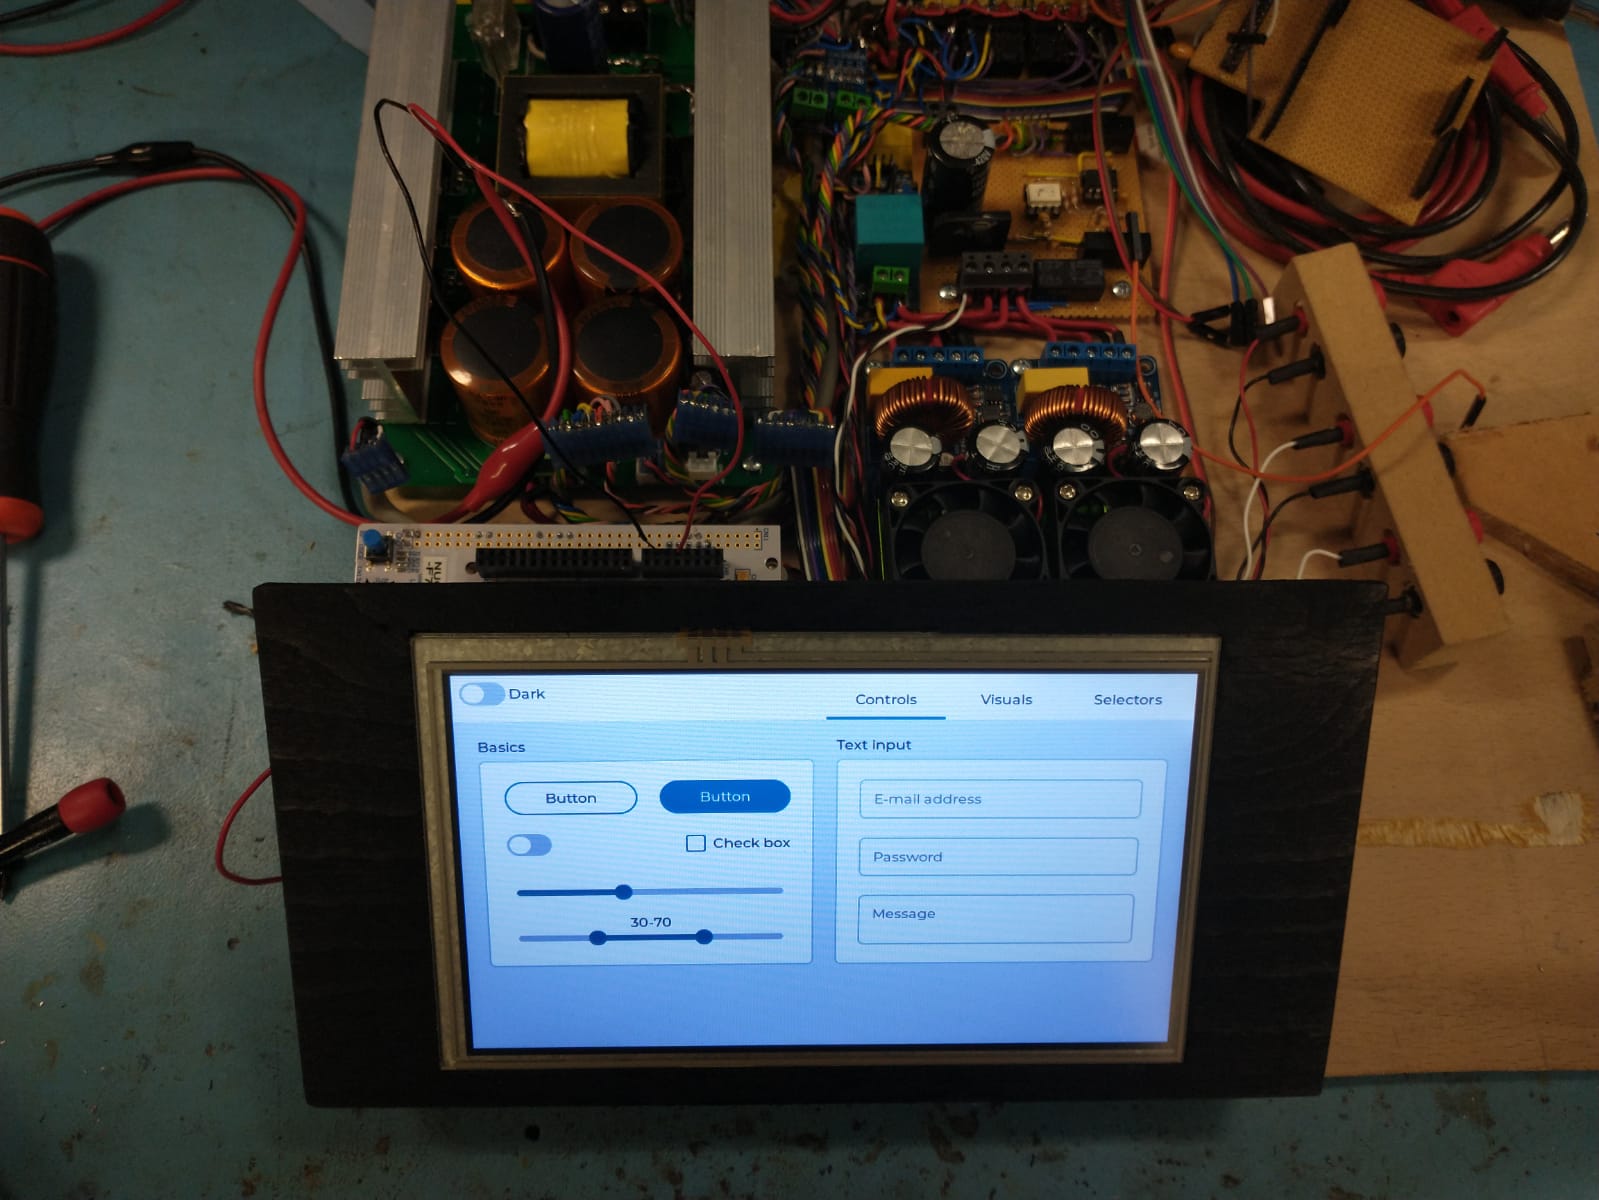
Nucleo 144 STM32F767ZI
What LVGL version are you using?
7.11.0
What do you want to achieve?
I want to increase performance for LVGL running on a Nucleo 144 F767ZI with a 7" SSD1963 display, currently the speed for scrolling/ animations is too slow.
What have you tried so far?
I have tried adjusting the display driver (my_disp_flush) and increased the refresh rate but cant seem to speed things up
I have also tried disabling the ICache and DCache in case that was slowing things down.
Code to reproduce
This draws everything correct but is very slow
void my_disp_flush(lv_disp_drv_t *disp, const lv_area_t *area, lv_color_t *color_p)
{
  uint16_t c;
    tft.setWindow(area->x1, area->y1, area->x2, area->y2 ); // set the working window
    for (int y = area->y1; y <= area->y2; y++) {
      for (int x = area->x1; x <= area->x2; x++) {
        c = color_p->full;
        tft.pushColor(c, 1);
        color_p++;
     }
  }
  lv_disp_flush_ready(disp); // tell lvgl that flushing is done
}
I have just realised disabling the ICache & DCache was actually slowing things down, re-enabling it all again has sped things up.
That was my bad for testing several combinations and leaving the Caches disabled.
I still get a bit of screen tearing but not as bad as shown in the video above.
What kind of connection do you have to the TFT, SPI? 8 bit parallel? 16 bit parallel? Something else? Different kinds of connections vary in their max speed. Also, a DMA and dual buffering will rendering and transfer to the TFT at the same time.
As for your code, you can optimize that loop. Also, I don’t know how tft.pushColor() is implemented by probably you can optimize it as well (e.g. no need to always pass a ‘1’ in your most inner loop).
You can see here an example of an optimized loop, only one level of loop, and it performs multiple pixels in one iteration.
I am using 16 bit parallel, I have just got FMC working which has considerably improved the performance. I believe my control method for the display driver can be better optimised.
For instance removing the ‘1’ on my len inner loop for pushcolor
I will look at your examples and see if I can utilise that and improve on how I am doing it now.
I have attached a video of the current performance utilising FMC which I am quite impressed with now.Nucleo 144 LVGL FMC demo video.zip (1.9 MB)
What about optimising the loop so I can push 32 pixels in one iteration instead of individually like below?
Its quicker to redraw the screen but seems to leave stray pixels on the screen when scrolling
void my_disp_flush(lv_disp_drv_t *disp, const lv_area_t *area, lv_color_t *color_p)
{
 static uint16_t temp[32];
  int i=0;
  tft.setWindow(area->x1, area->y1, area->x2, area->y2); // set the working window

  for (int y = area->y1; y <= area->y2; y++) {
    for (int x = area->x1; x <= area->x2; x++) {
       temp[i] = color_p->full;
       i++;
       if (i==32){
       tft.pushColors(temp, i);
       i = 0;
       }
      color_p++;
    }
  }
  lv_disp_flush_ready(disp); // tell lvgl that flushing is done
}
That is true, I’ve not had it occur where less than 32 pixels is not updated… but an issue could arise from it.
I thought I was being clever storing an array to better optimise it.
I will stick with the below as its working well and the speed is good.
I can use some examples to work on the driver and eventually improve.
void my_disp_flush(lv_disp_drv_t *disp, const lv_area_t *area, lv_color_t *color_p) {
uint16_t c;
tft.setWindow(area->x1, area->y1, area->x2, area->y2 ); // set the working window
for (int y = area->y1; y <= area->y2; y++) {
for (int x = area->x1; x <= area->x2; x++) {
c = color_p->full;
tft.pushColor(c);
color_p++;
}
}
lv_disp_flush_ready(disp); // tell lvgl that flushing is done
}
Better to say the function fails if ((area_width * area_height) % 32) != 0
But it should work if you add the if (i != 0) {…} just after the for loops
  for (...) {
    for (...) {
    }
  }

  if (i != 0) {
     tft.pushColors (temp, i);
  }

  lv_disp_flush_ready (disp); // tell lvgl that flushing is done
You observed a better performance with FMC.
When the SSD1963 is connected as a memory mapped device, you can also try to
transfer the pixel data via DMA.
Nevertheless you should omit the intermediate buffer temp[32].
The pixeldata is already located at a sequential memory area (*color_p),
and copy from one buffer to another one doesn’t make really sense.
The library is called GxTFT, I was in contact with the developer trying to get the STM32F7 chipset to work.
It now works directly with FMC which has made a great difference compared to bitbashing.
The library is great as everything is separated with classes, it makes adding new hardware easier.
tft.pushColors()
void GxTFT::pushColors(uint16_t *data, uint8_t len)
{
IO.startTransaction();
while (len--) {
uint16_t color = *data++;
IO.writeData16(color);
}
IO.endTransaction();
}
Are IO.startTransaction() and IO.endTransaction() real methods that are called for each pixels. This sounds very non efficient. You may have a lot of room for optimization here. Same for inline whatever writeData16() does in your own render loop.
No they are not real methods, in this current situation as we’re using FMC they’re just an empty function but if another user was using regular bitbashing then it would be incorporated.
The library seperates the tft controller and IO (MCU), because it has support for lots of different setups… it has to cover all scenarios, so some functions are relevant whereas others are not.
This is where I can modify use the relevant bits and disregard the rest.
//#define FMC_REGION ((uint32_t)0x60000000)
// Bank1 FMC NOR/PSRAM
// swap FMC_REGION used to an address range that has data cache disabled
// see e.g. https://community.st.com/s/question/0D50X00009XkWQESA3/stm32h743ii-fmc-8080-lcd-spurious-writes

#define FMC_REGION ((uint32_t)0xC0000000) // Bank1 FMC NOR/PSRAM swapped with SDRAM
#define CommandAccess FMC_REGION
#define DataAccess (FMC_REGION + 0x80000)
tft_driver is the low level driver and lv_adapter is the interface to LVGL. Running on a 84Mhz STM32F401CE, the pixel transfer rate is 10M x 16bit pixels per sec. No DMA, just bit banging, and on the fly conversion from LVGL 8 bit color depth to the TFT 16 bit color depth. These barley achieves smooth horizontal scrolling of the chart in my app, and plenty fast for all the other screens.
That’s exactly what I was after, I wanted an example to observe: I was trying to find one on github.
I fancy rewriting what I’ve got now using LV drivers with FMC on the Nucleo-F767ZI.
My current setup is working well but I want to neaten things up on the code.
So I’ve been working on optimising the display using FMC directly with my current setup.
Using DataAccess (0xC0080000) / CommandAccess (0xC0000000) on FMC the below display flush is working well, when updating a big portion of the screen - animations can stutter a little but overall it seems quite good for what I need it for.
…but if I can make it better/ faster, I would like to carry on working to improve it.
The benchmark test showed ‘Weighted FPS’ to be at 19, the display is 800 x 480 SSD1963 and the processor is a STM32F767ZI: it was 17 FPS, so I have marginally increased it by 2 FPS.
With the latest 7.x versions, there is no point using gpu_fill_cb on STM32 as LVGL includes built-in support for the DMA2D engine. You can try enabling it in lv_conf.h.
LVGL will still use flush_cb to copy the final buffer to the display; DMA2D is used to accelerate operations on the working buffer.
Thanks for the reply, I’ve got a few questions on DMA2D.
I did attempt to enable DMA2D but unfortunately not sure if it worked, for some reason it didn’t like
LV_GPU_DMA2D_CMSIS_INCLUDE “stm32f767xx.h”
I went to v_gpu_stm32_dma2d.c and manually included “stm32f767xx.h” instead of using the definition in lv_config.h which compiled fine after.
So once it’s enabled do I need to initialise it or is all of that automatically handled by LVGL?
What other changes do I have to make to my_disp_flush as I was a bit confused on how LVGL would automatically copy the frame buffer directly?
I assume I would still need to set a working window? This is the part where I’m not sure on how to implement it properly?
I only have single buffer, should I add a dual buffer to the equation?