allacmc
October 18, 2023, 11:36pm
1
Guys,
Need help. What could I be doing wrong?
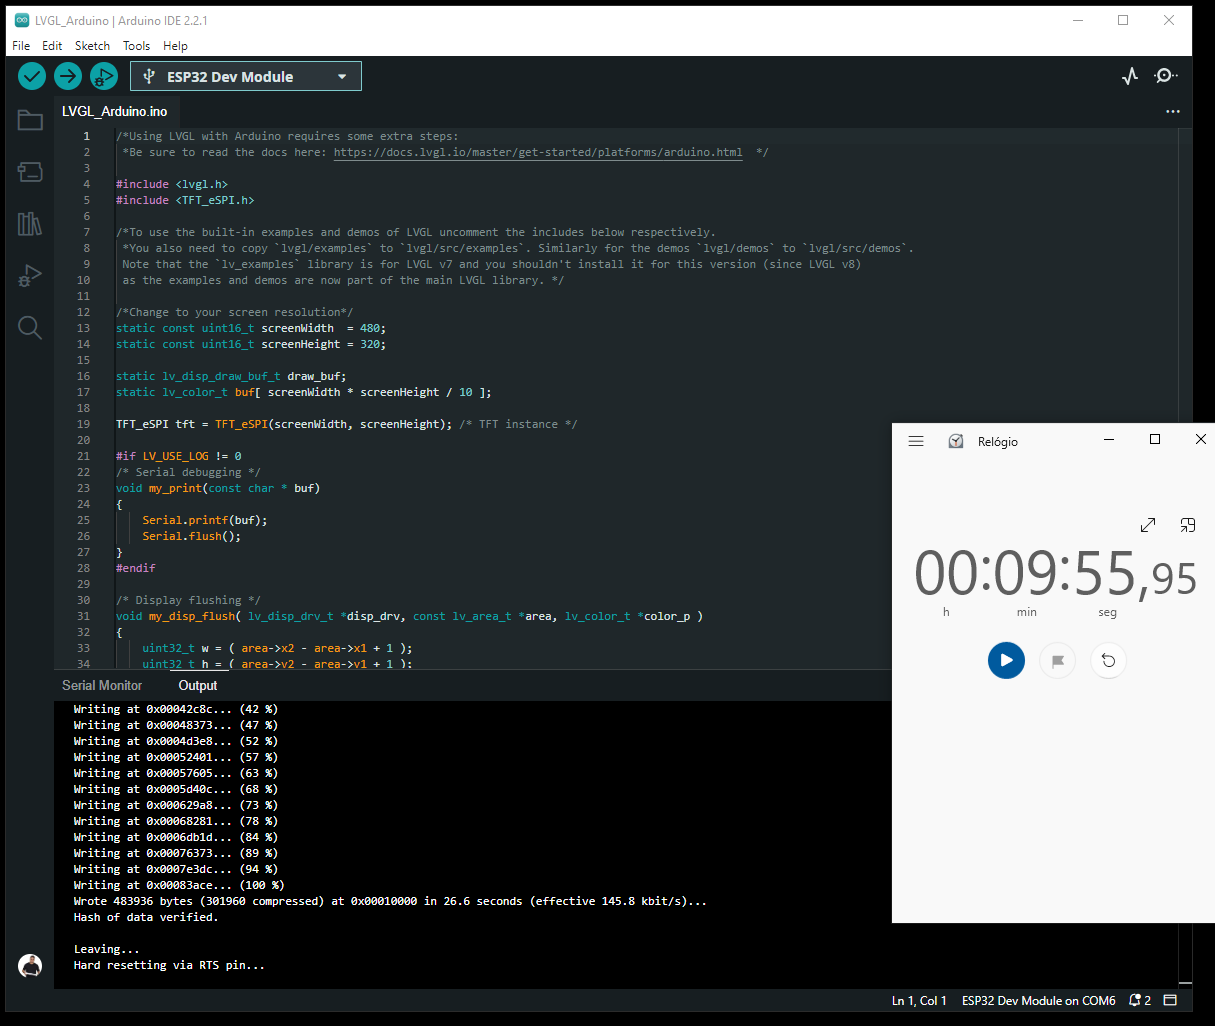
Compiling a basic program like “Hello Word” with the lvgl library is very long…
Something beyond the normal?
This completely makes any attempt to develop systems impossible…
Imagine having to wait 9 minutes for a compilation to say there was an error?
/*Using LVGL with Arduino requires some extra steps:
 *Be sure to read the docs here: https://docs.lvgl.io/master/get-started/platforms/arduino.html  */

#include <lvgl.h>
#include <TFT_eSPI.h>

/*To use the built-in examples and demos of LVGL uncomment the includes below respectively.
 *You also need to copy `lvgl/examples` to `lvgl/src/examples`. Similarly for the demos `lvgl/demos` to `lvgl/src/demos`.
 Note that the `lv_examples` library is for LVGL v7 and you shouldn't install it for this version (since LVGL v8)
 as the examples and demos are now part of the main LVGL library. */

/*Change to your screen resolution*/
static const uint16_t screenWidth = 480;
static const uint16_t screenHeight = 320;

static lv_disp_draw_buf_t draw_buf;
static lv_color_t buf[screenWidth * screenHeight / 10];

TFT_eSPI tft = TFT_eSPI(screenWidth, screenHeight); /* TFT instance */

#if LV_USE_LOG != 0
/* Serial debugging */
void my_print(const char *buf) {
  Serial.printf(buf);
  Serial.flush();
}
#endif

/* Display flushing */
void my_disp_flush(lv_disp_drv_t *disp_drv, const lv_area_t *area, lv_color_t *color_p) {
  uint32_t w = (area->x2 - area->x1 + 1);
  uint32_t h = (area->y2 - area->y1 + 1);

  tft.startWrite();
  tft.setAddrWindow(area->x1, area->y1, w, h);
  tft.pushColors((uint16_t *)&color_p->full, w * h, true);
  tft.endWrite();

  lv_disp_flush_ready(disp_drv);
}

/*Read the touchpad*/
void my_touchpad_read(lv_indev_drv_t *indev_drv, lv_indev_data_t *data) {
  uint16_t touchX, touchY;

  bool touched = tft.getTouch(&touchX, &touchY, 600);

  if (!touched) {
    data->state = LV_INDEV_STATE_REL;
  } else {
    data->state = LV_INDEV_STATE_PR;

    /*Set the coordinates*/
    data->point.x = touchX;
    data->point.y = touchY;

    Serial.print("Data x ");
    Serial.println(touchX);

    Serial.print("Data y ");
    Serial.println(touchY);
  }
}

void setup() {
  Serial.begin(115200); /* prepare for possible serial debug */

  String LVGL_Arduino = "Hello Arduino! ";
  LVGL_Arduino += String('V') + lv_version_major() + "." + lv_version_minor() + "." + lv_version_patch();

  Serial.println(LVGL_Arduino);
  Serial.println("I am LVGL_Arduino");

  lv_init();

#if LV_USE_LOG != 0
  lv_log_register_print_cb(my_print); /* register print function for debugging */
#endif

  tft.begin();        /* TFT init */
  tft.setRotation(3); /* Landscape orientation, flipped */

  /*Set the touchscreen calibration data,
     the actual data for your display can be acquired using
     the Generic -> Touch_calibrate example from the TFT_eSPI library*/
  uint16_t calData[5] = { 275, 3620, 264, 3532, 1 };
  tft.setTouch(calData);

  lv_disp_draw_buf_init(&draw_buf, buf, NULL, screenWidth * screenHeight / 10);

  /*Initialize the display*/
  static lv_disp_drv_t disp_drv;
  lv_disp_drv_init(&disp_drv);
  /*Change the following line to your display resolution*/
  disp_drv.hor_res = screenWidth;
  disp_drv.ver_res = screenHeight;
  disp_drv.flush_cb = my_disp_flush;
  disp_drv.draw_buf = &draw_buf;
  lv_disp_drv_register(&disp_drv);

  /*Initialize the (dummy) input device driver*/
  static lv_indev_drv_t indev_drv;
  lv_indev_drv_init(&indev_drv);
  indev_drv.type = LV_INDEV_TYPE_POINTER;
  indev_drv.read_cb = my_touchpad_read;
  lv_indev_drv_register(&indev_drv);

  /* Create simple label */
  lv_obj_t *label = lv_label_create(lv_scr_act());
  lv_label_set_text(label, "Hello Ardino and LVGL!");
  lv_obj_align(label, LV_ALIGN_CENTER, 0, 0);

  /* Try an example. See all the examples
     * online: https://docs.lvgl.io/master/examples.html
     * source codes: https://github.com/lvgl/lvgl/tree/e7f88efa5853128bf871dde335c0ca8da9eb7731/examples */
  //lv_example_btn_1();

  /*Or try out a demo. Don't forget to enable the demos in lv_conf.h. E.g. LV_USE_DEMOS_WIDGETS*/
  //lv_demo_widgets();
  // lv_demo_benchmark();
  // lv_demo_keypad_encoder();
  // lv_demo_music();
  // lv_demo_printer();
  // lv_demo_stress();

  Serial.println("Setup done");
}

void loop() {
  lv_timer_handler(); /* let the GUI do its work */
  delay(5);
}
*** What could be wrong?**
*** Is this really so?**
*** Is there anything that can be done?**
I was facing the same issue… I’ve solved it running on WSL machine over Windows 11.
A quick guide to help you.
Good luck
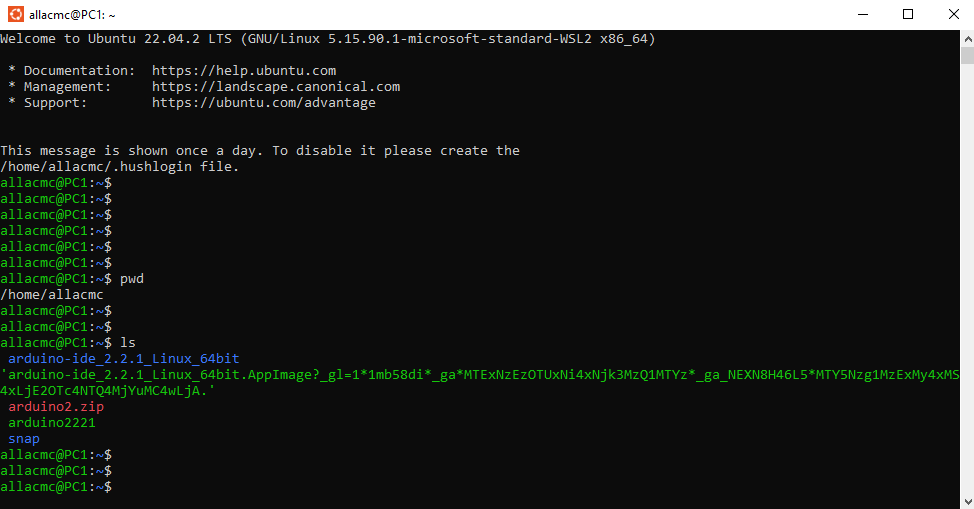
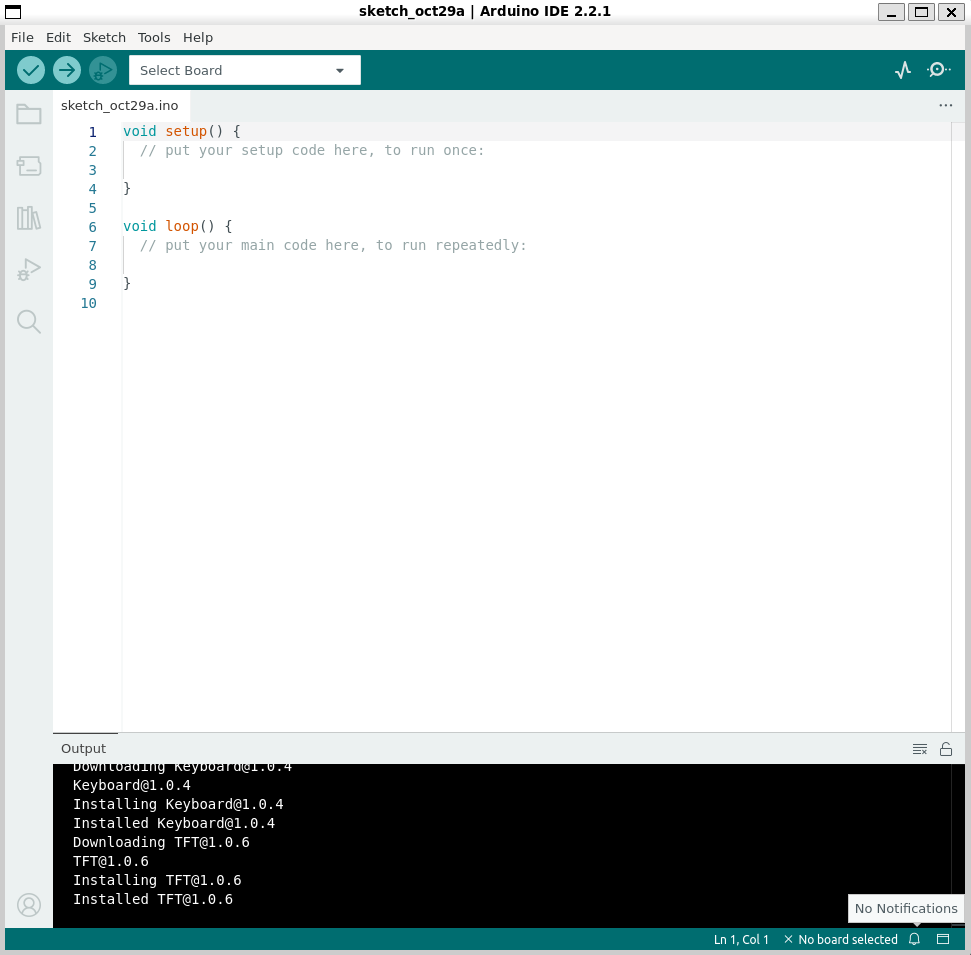
I tried everything I could to install the Arduino IDE 2.2.1 on this Linux virtual machine and I couldn’t.
The Arduino IDE 1.8 works perfectly. Open it and everything…
However, IDE 2.2.1 is much better… And I couldn’t do it… at all.
There are two files to download:
A zip file that doesn’t have the executable…so you’re lost.
And a file that is an image…
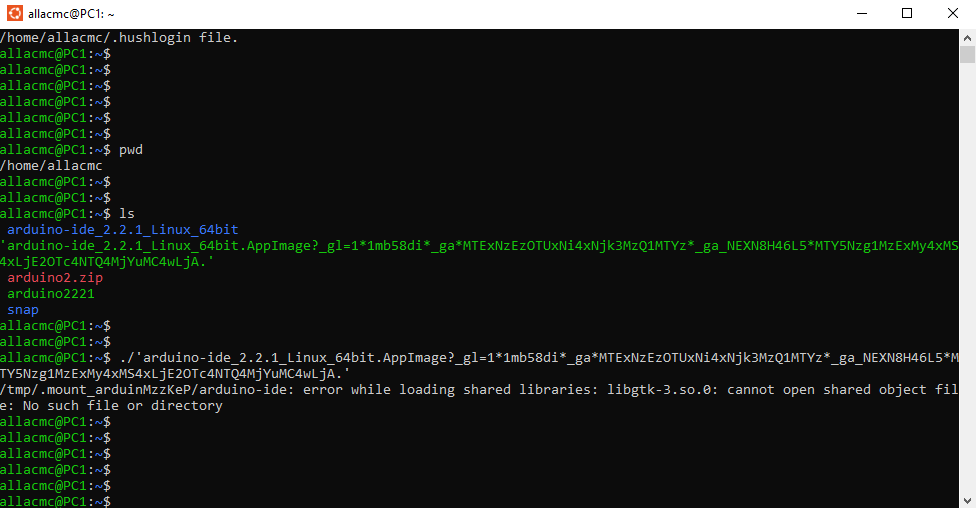
This file needs to have fuse to install and it won’t run for nothing.
Hi @allacmc , sorry for long delay…
But on linux, was possible to compile your project or neither?
BR
Hey @allacmc
I found it… did you try it too?https://docs.arduino.cc/software/ide-v2/tutorials/getting-started/ide-v2-downloading-and-installing
Hey @allacmc
BR
Yes, I have tried everything and have not been successful in installing it.
If there is any way tell me…
I wanted to ask you something else: How to share the Windows files that the Arduino in Linux uses?
This also left me lost.
Hey @allacmc
You can create a Samba Share folder on linux… with it will be possible to transfer files between the machines.
BR
Hey @allacmc , Sorry for long delay
I had time only today to test the arduino IDE 2 on linux
# wget https://downloads.arduino.cc/arduino-ide/arduino-ide_2.2.1_Linux_64bit.AppImage?_gl=1*1ad2o1s*_ga*Nzc1MTk4NTE4LjE2OTI5MjYxMDM.*_ga_NEXN8H46L5*MTY5ODYxNzkwMy40Ni4xLjE2OTg2MTc5MDQuMC4wLjA.
# ls -latrh
# mv 'arduino-ide_2.2.1_Linux_64bit.AppImage?_gl=1*1ad2o1s*_ga*Nzc1MTk4NTE4LjE2OTI5MjYxMDM.*_ga_NEXN8H46L5*MTY5ODYxNzkwMy40Ni4xLjE2OTg2MTc5MDQuMC4wLjA.' arduino-ide_2.2.1_Linux_64bit.AppImage
# ls -latrh
# chmod +x arduino-ide_2.2.1_Linux_64bit.AppImage
# sudo add-apt-repository universe
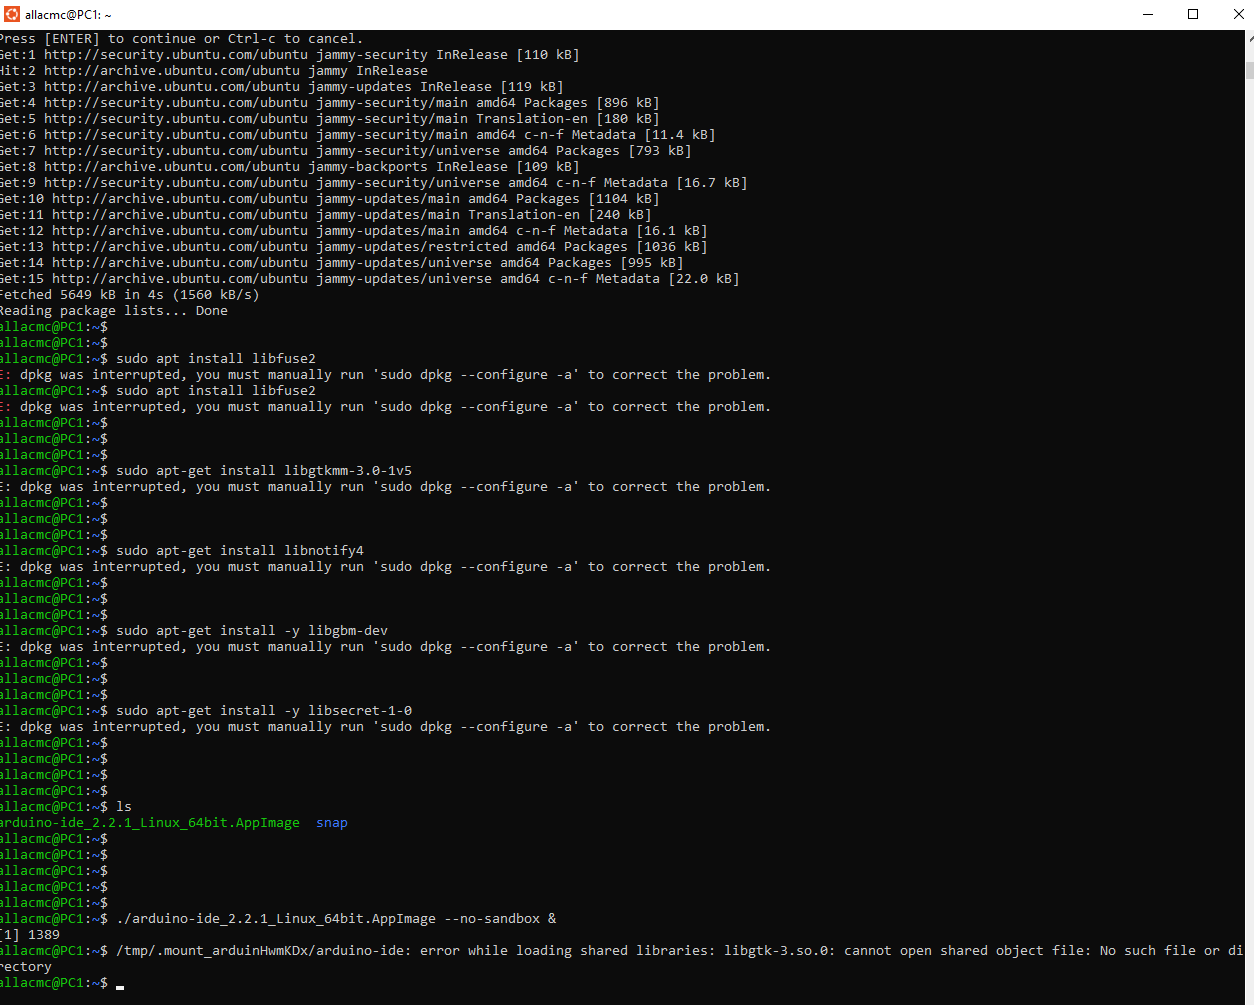
# sudo apt install libfuse2
# sudo apt-get install libgtkmm-3.0-1v5
# sudo apt-get install libnotify4
# sudo apt-get install -y libgbm-dev
# sudo apt-get install -y libsecret-1-0
# ./arduino-ide_2.2.1_Linux_64bit.AppImage --no-sandbox &
To be easier to execute you can create an executable with parameters doing it.
# nano arduino2
include this content on file
#! /usr/bin/bash

/root/arduino-ide_2.2.1_Linux_64bit.AppImage --no-sandbox &
Press Ctrl+X, after Shift + Y and ENTER to save the changes
# chmod +x arduino2
to execute use the command
./arduino2
or include the folder on path
nano .bashrc
And include the info on last line of file ( I’ve included the arduino2 on “root” folder but you can use another one… only change it)
export PATH="/root:$PATH"
Press Ctrl+X, after Shift + Y and ENTER to save the changes
# source ~/.bashrc
And now you can open the Arduino IDE 2 only with command, doesn`t matter the folder that you are.
# arduino2
Let me know if you face issues
BR
allacmc
October 29, 2023, 11:43pm
10
One Linux is never the same as another…
What happened to me, I couldn’t install this libfuse2??
I tried, but it didn’t work
allacmc
October 29, 2023, 11:50pm
11
It worked perfect, I fixed the problems with the libfuse2 installation…
Very very very very very THANK YOU, THANK YOU 1000 TIMES!!
Now another stage begins:
Make samba work and see if it will load the cards, libraries and record the program:
I think it’s a long way too…
Nice bro congrats!!
I’ll try to create a tutorial tomorrow for it…
But basically you will need a couple of configs and a FTP on windows to access…
BR
allacmc
October 31, 2023, 5:13am
13
I think this samba issue is very easy, because there is extensive documentation on the internet.
The most critical is the recording COM port, that one… complex
How to enable this COM port?
allacmc
October 31, 2023, 6:06am
14
For registration purposes:
I was able to easily install and make Samba work.
However, the com port involves the installation of a usbipd and is quite complicated, in my case it still didn’t work.
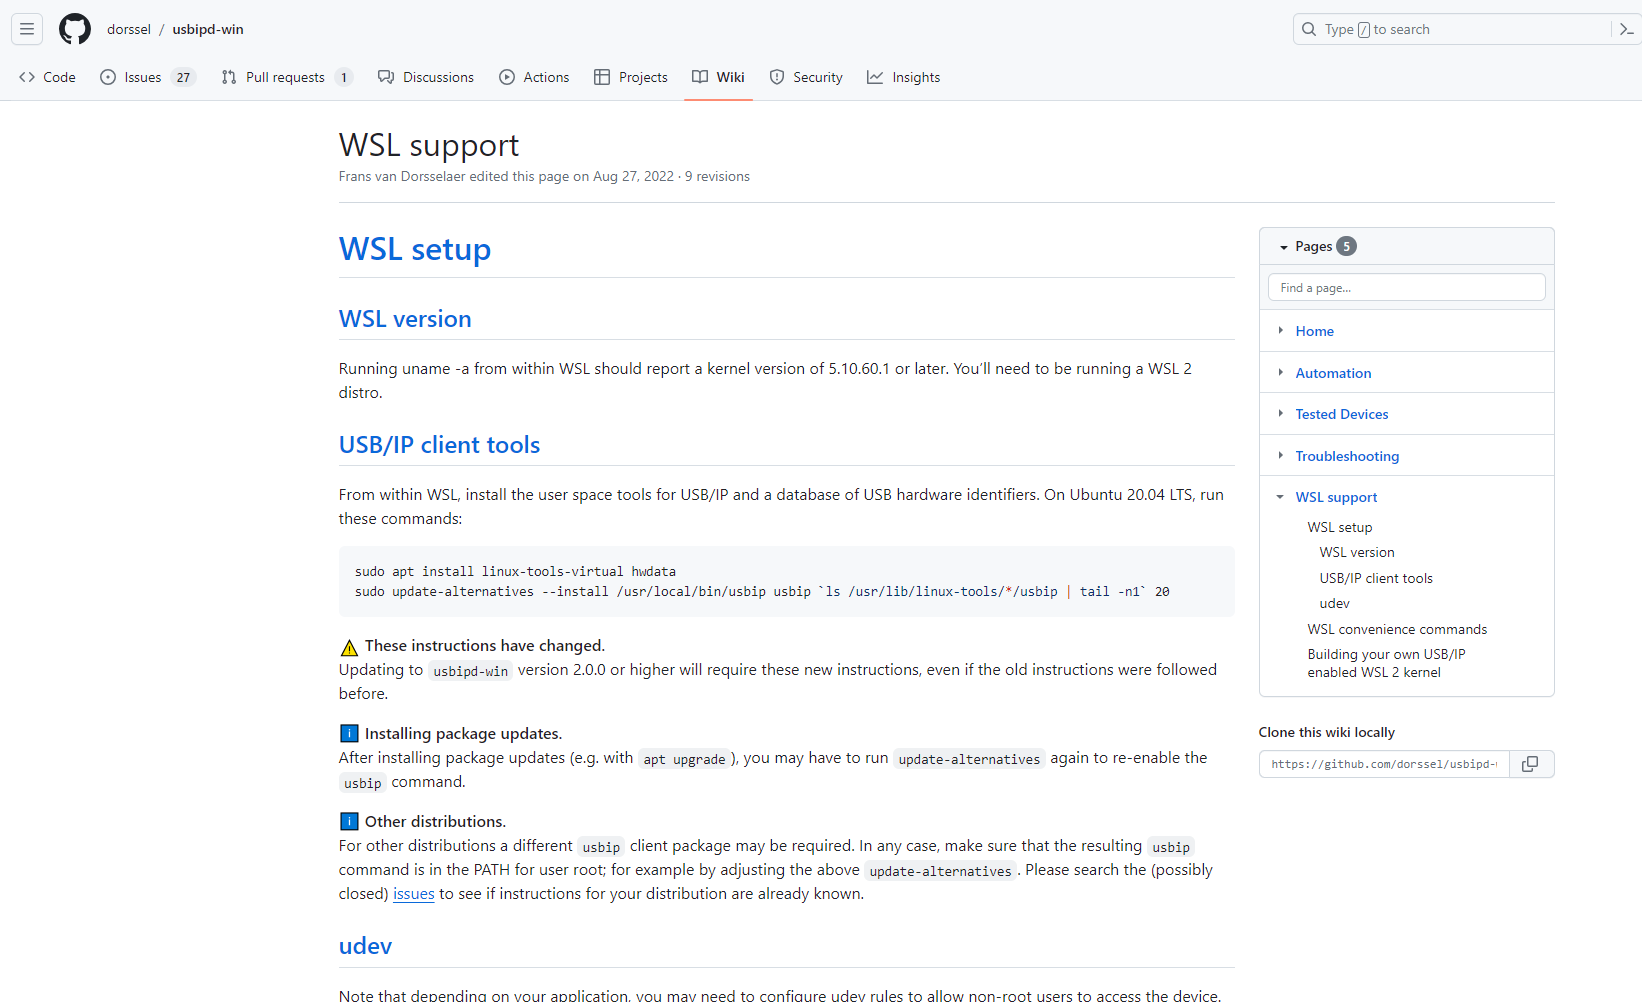
<!--
SPDX-FileCopyrightText: 2020 Frans van Dorsselaer
SPDX-License-Identifier: GPL-3.0-only
-->
# usbipd-win
[](https://github.com/dorssel/usbipd-win/actions?query=workflow%3ABuild+branch%3Amaster)
[](https://github.com/dorssel/usbipd-win/actions?query=workflow%3ACodeQL+branch%3Amaster)
[](https://github.com/dorssel/usbipd-win/actions?query=workflow%3AMegaLinter+branch%3Amaster)
[](https://api.reuse.software/info/github.com/dorssel/usbipd-win)
[](https://codecov.io/gh/dorssel/usbipd-win)
[](https://github.com/dorssel/usbipd-win/releases)
Windows software for sharing locally connected USB devices to other machines, including Hyper-V guests and WSL 2.
## How to install
This software requires Microsoft Windows 8.1 x64 / Microsoft Windows Server 2012 or newer;
show original
My problem:
Hey bro
Let’s start…
After it go on linux and execute
# lsusb
Should display some usb ports without your Esp32 board
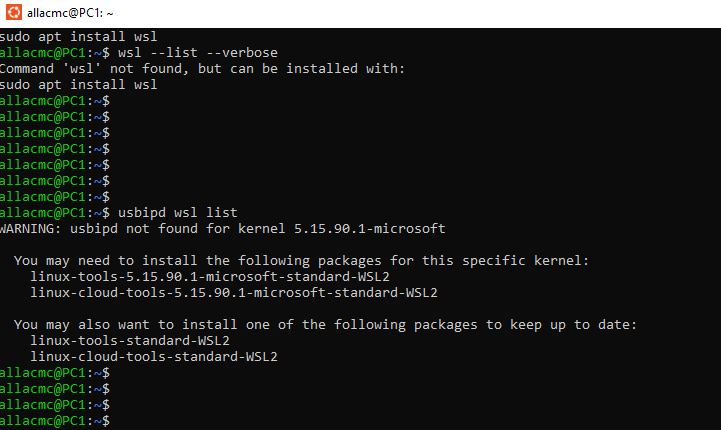
Go back to Windows and open the Command prompt as administrator.
# usbipd wsl list
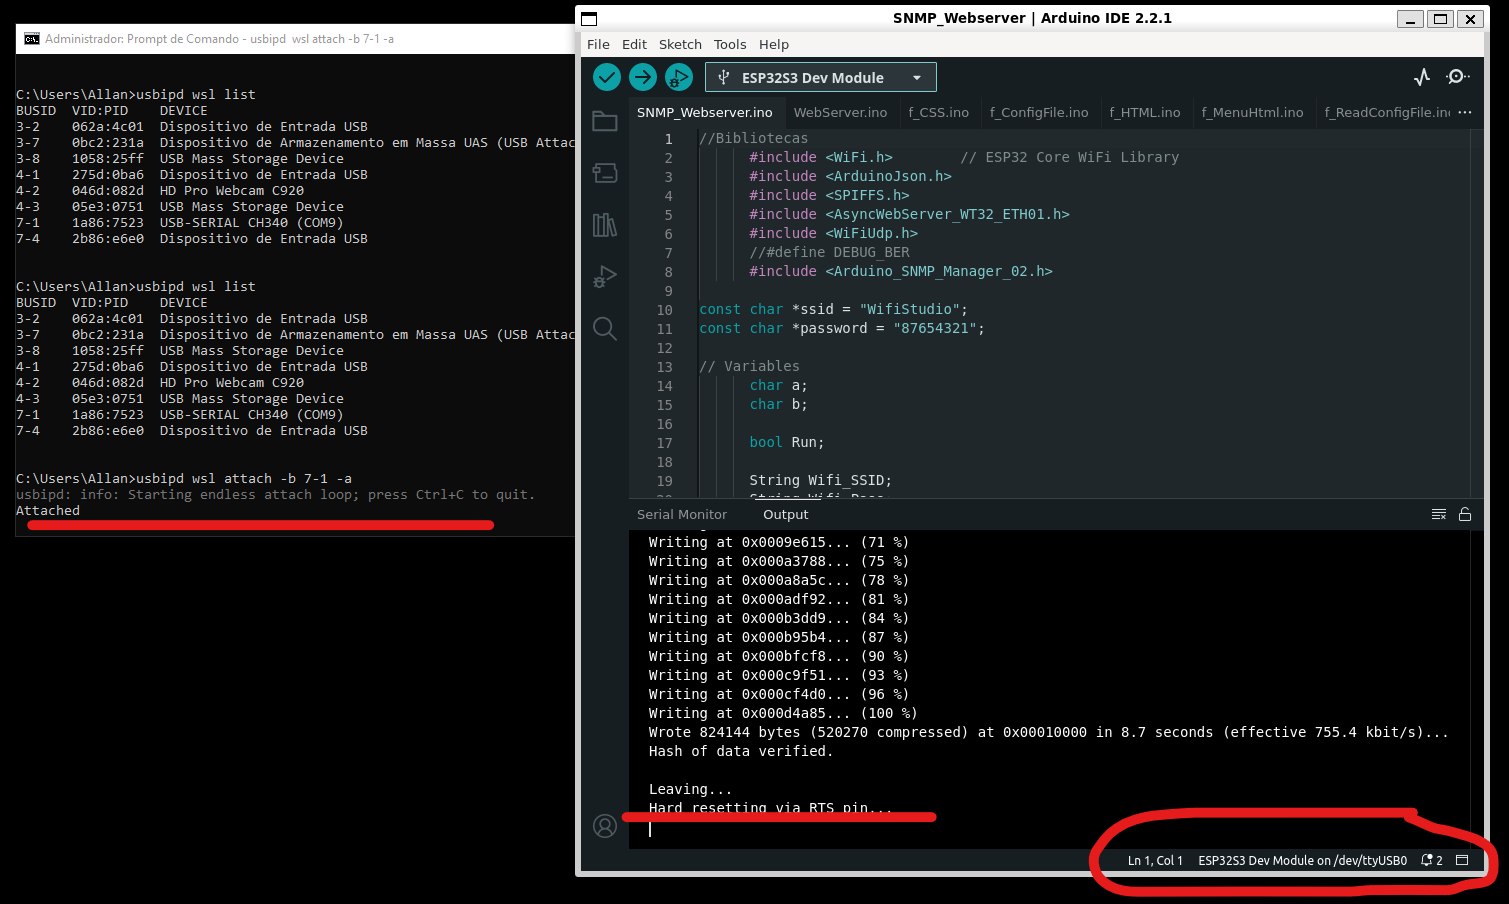
It shall display a list of USB ports. On this moment try to identify your ESP32 and get the BUSID Number ( eg. 2-1 )
To attach a board use the command below using after “-b” the “BUSID”:
# usbipd wsl attach -b 2-1 -a
To detach the board use the command below using after “-b” the “BUSID”:
# usbipd wsl detach -b 2-1
Go back on linux and execute the command below:
# sudo apt install linux-tools-virtual hwdata
# sudo update-alternatives --install /usr/local/bin/usbip usbip `ls /usr/lib/linux-tools/*/usbip | tail -n1` 20
And execute again the command to display the USB ports
# lsusb
And you will be possible to see your board
Now you need to give the appropriate permission on device port:
# sudo chown {username} /dev/ttyUSB0
After it, execute the update and upgrade:
@ sudo apt-get update && sudo apt-get upgrade
Now, open the arduino IDE and select the USB port
Good luck and let me know if you need help.
Best Regards
allacmc
November 1, 2023, 8:44pm
16
I did all the procedures as suggested by my colleague above and it worked perfectly.
I really want to thank you without this guidance it would not be possible to make the Arduino IDE 2.2 work on Linux on Windows.
Once again, very, very, very, very, , very, , very, , thank you!!!
Without people like you, our community would not be the same!
We will leave this topic here as a future reference for others who wish to carry out this same procedure.
It’s an excellent source of research for developers who want to follow the same path…
And it really is much faster to compile C++ on Linux than on Windows…
I don’t know why, but…
Was a pleasure bro… let move for next topic
yesnoj
March 28, 2024, 10:37pm
18
Sorry to bring up again this topic, but this solution proposed can be used by someone that has Linux machine also, i don’t have it, and i don’t have the skill to use it.
PS: I’ve ended using my Mac, the compilation time is waaay faster than my Win machine…
The purpose of this topic is to run Linux on top of Windows and make the Arduino IDE work so that compilation in the ARDUINO IDE is faster.
Yes after I did all this.
I actually got a faster compilation.
However, the best thing I did in my life was to install a Linux machine just to program.
Everything is even faster then!!
These techniques above are what we call in Brazil “Gambiarra”.
However, no one can get very far with the Arduino IDE, it is very limited. It’s better to organize yourself and go to Platform.IO or ESP IDF.
Maybe the beginning will be hard, but later it will be rewarding.