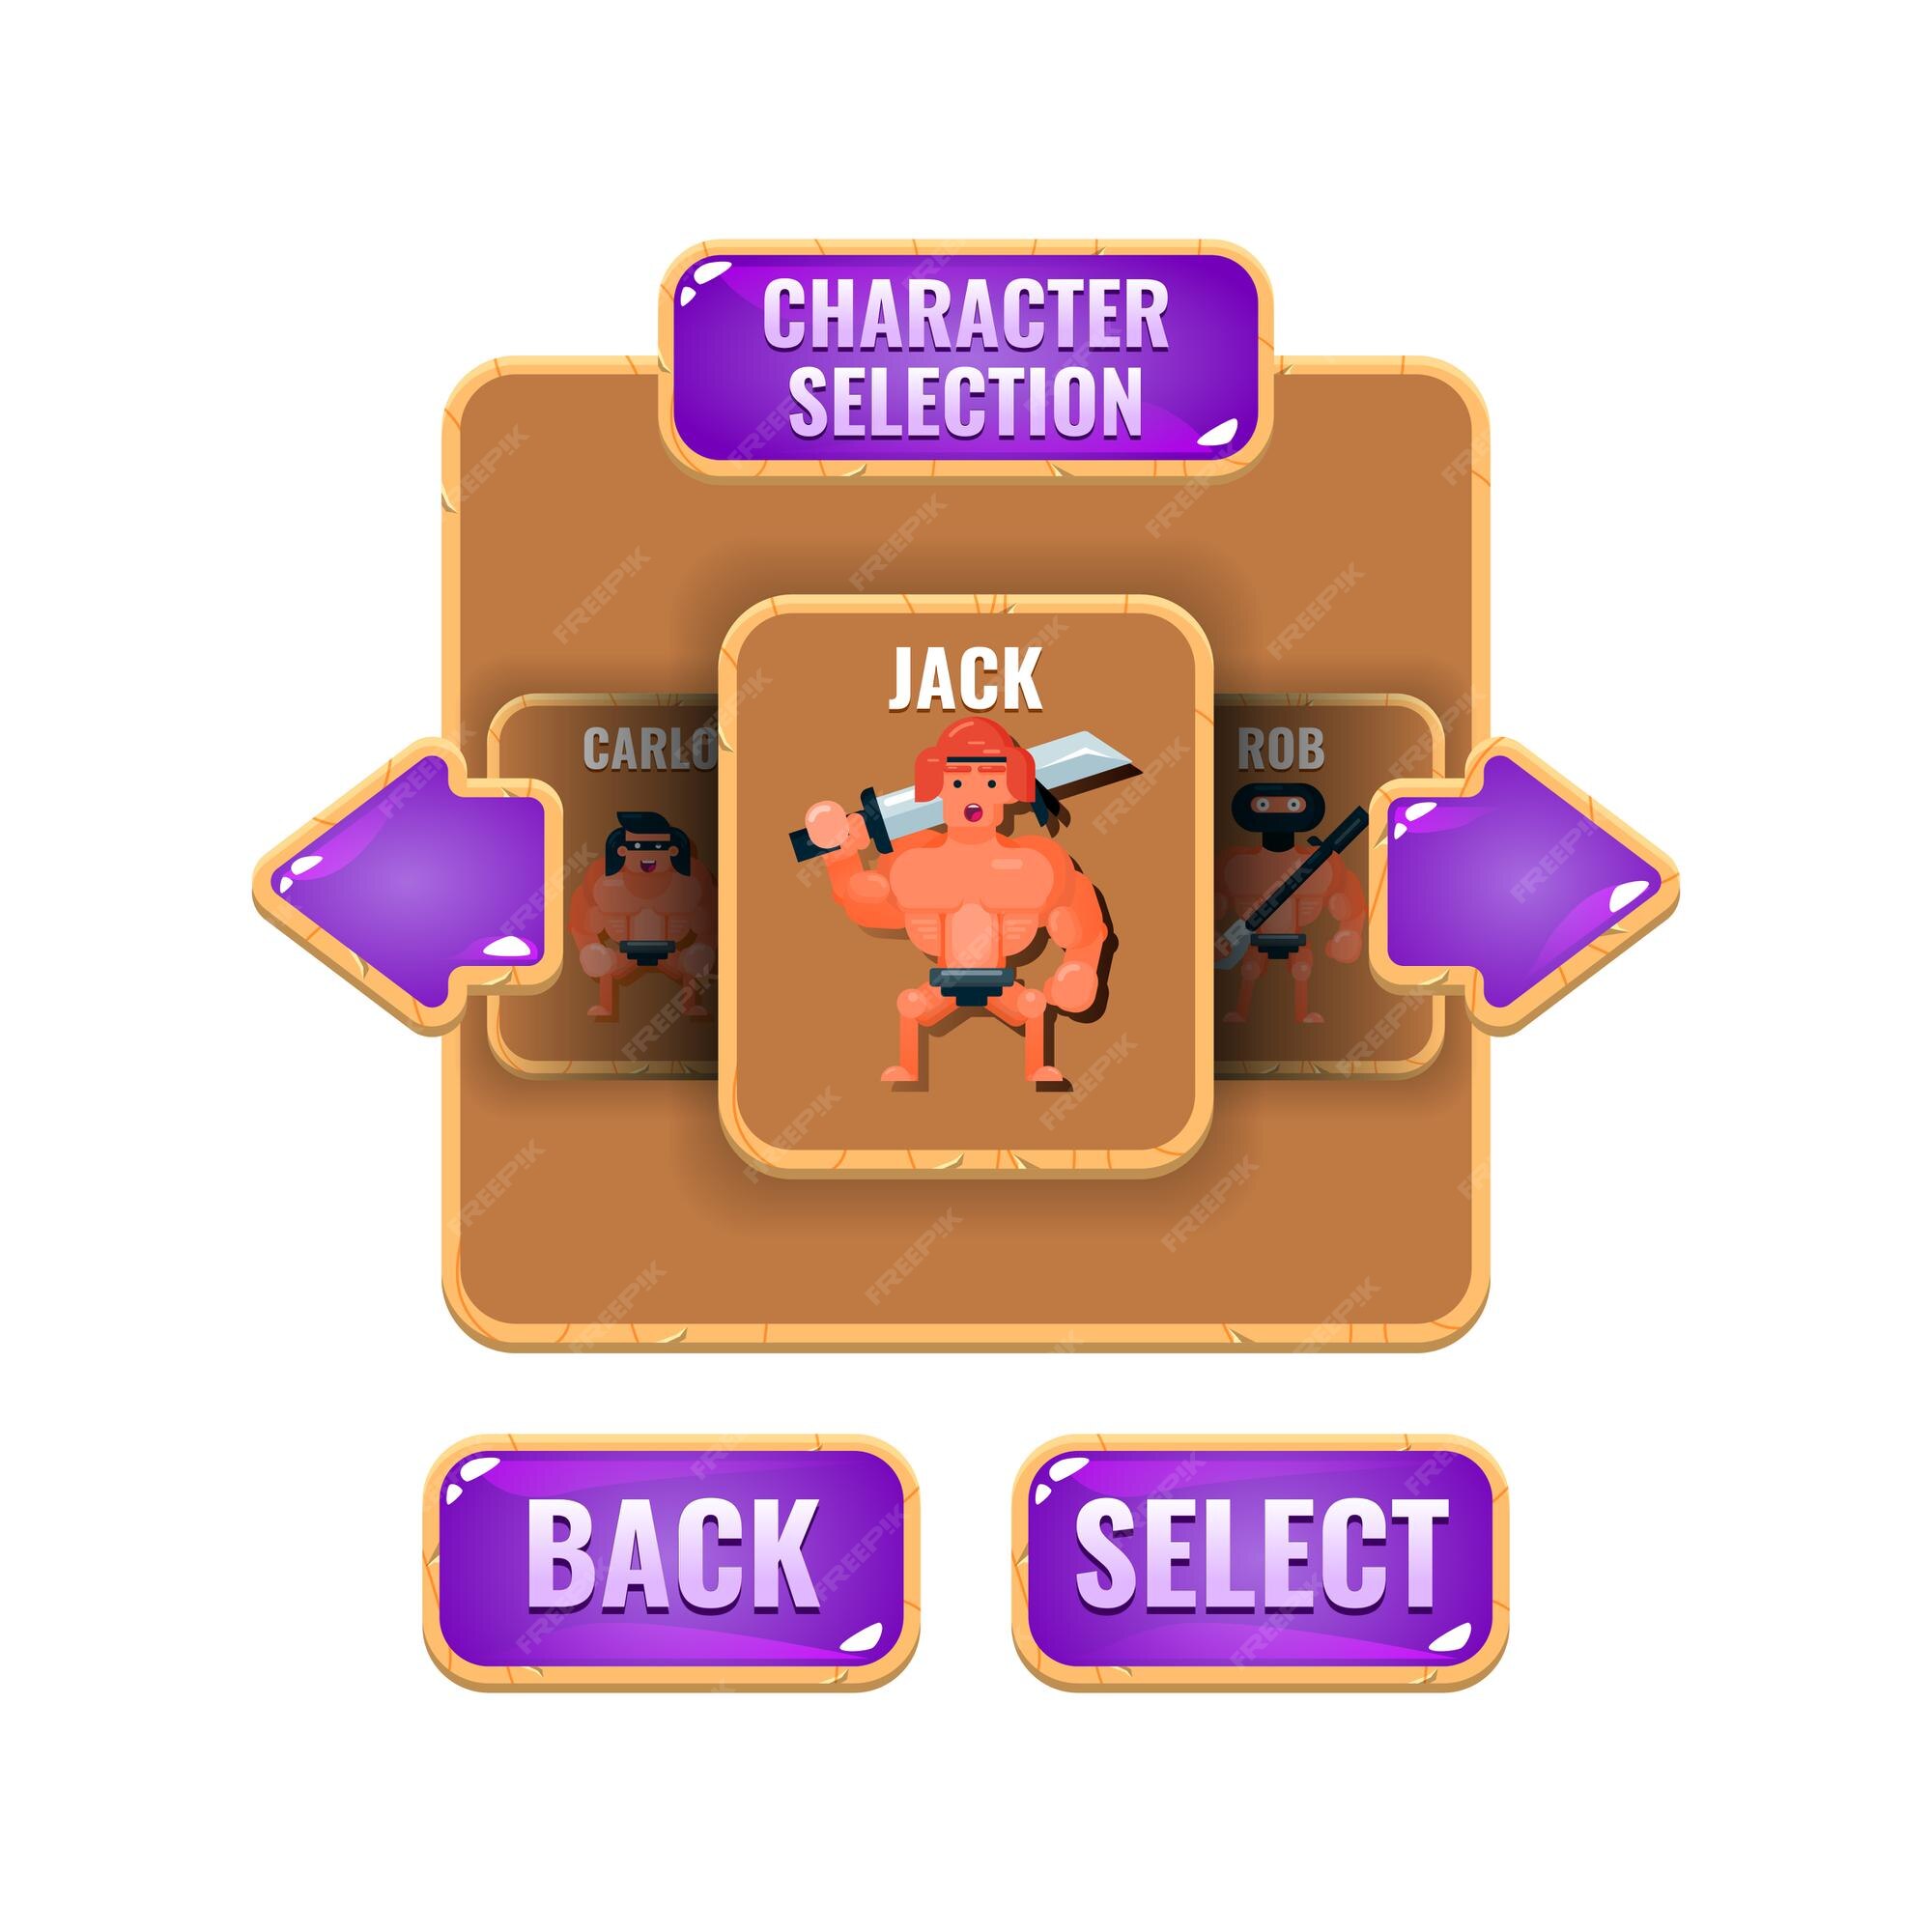
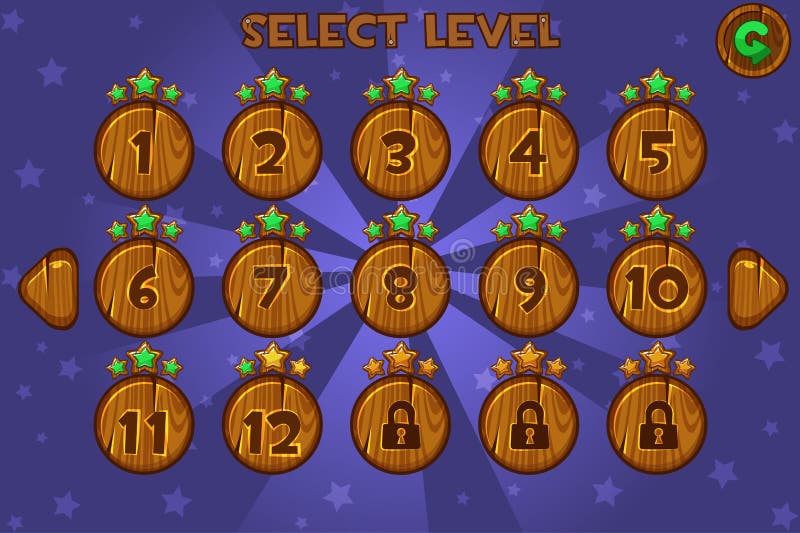
I can’t find this feature in lvgl demo or square line. If not exist, is there anyway to realize it?
I want to scroll it, or click left or right buttom, to select the target.
hello?
Hello Charles,
the roller (lv_roller) widget has this functionality. At least for the first two examples, but only with text.
As far as I know, there is no implementation for doing this with images at the moment.
You could create an empty object with no type (let’s call it a scroller) and add the images you want as children of that scroller.
Set this scroller to use the flex layout Positions, sizes, and layouts — LVGL documentation.
and also set it to be scrollable. Scroll — LVGL documentation, using lv_obj_set_scroll_snap() on the roller you can add “snapping” functionality when scrolling.
Sadly this does not really allow you to “select” the object inside the roller by scrolling, as there is no functionality for it. I fixed this in my project by putting image buttons inside the sroller, which the user has to click to select.
Perhaps LVGL wizard @kdschlosser has more ideas.
For the arrows I do not currently see any easy built in functionality like described above. It is possible to get a list of children from the scroller, perhaps if you only used the arrows you could retrieve the selected image with an index which is increased/decreased when the arrows are pressed.
Then when an arrow is pressed you could increase/decrease the scroll position using one of the lv_scroll_.to/by.. functions.
For the third example I would just use multiple screens. Have the arrow buttons switch the screens, perhaps with some sort of animation, and insert the buttons as image buttons using a flex layout.
Thank you a lot for giving me all these advises, Tinus!
Well, I scroll to switch the target but I don’t need to pressed on it, just presenting only.
Yep, I think the base object may be the only way I counld use in this version of lvgl. I’ll try it.
Actually there is a way. With center snapping you can call lv_obj_scroll_to_view(obj, LV_ANIM_ON/OFF) to snap obj.
Cool @kisvegabor
I use lv_obj_set_scroll_snap_x(), also works.
Thx.
Hmm, what I meant is that you cannot really retrieve the centered object when scrolling images inside another object… or can you? I tried getting lv_roller behavior but with images, seems there is no implementation for this at the moment. If there is, please tell me how ![]()
That’s true. What you can do is doing some math based on lv_obj_get_scroll_x(parent).
Since you are making a custom widget to be able to use images it should be fairly simple to make.
create an object that has the size that you want where the image s will be displayed. Then create a second object that is the child of the first. ass the images as children of the second object. increase the height of the second object as you add the images. Because the first object is now going to be smaller than the second (which contains the images) you get what is essentially a window only allowing you to see what is inside of that first object.
turn off scrolling for all objects and register a callback for the second object to the event LV_EVENT_PRESSING. in that callback you have code that is like this.
This is written in python but not that hard to port to C code
def drag_event_handler(e):

    obj = e.get_target_obj()

    indev = lv.indev_get_act()

    vect = lv.point_t()
    indev.get_vect(vect)
    # uncomment the line below if wanting a horizontal roll
    # x = obj.get_x() + vect.x
    # uncomment the line below if wanting a vertical roll
    # y = obj.get_y() + vect.y
    obj.set_pos(x, y)
That gives you the basic idea. You can make it look like it’s actually rolling by changing the zoom level for the images.
To calculate what image is being shown is pretty simple to do. the position of an object will be relative to the parent so 0, 0 is the upper left corner of the parent if no alignment has been specified.
Say you add 20 images and each image is 50 x 50. The “window” is 50 x 150
You want a space between the images, lets call it 20 pixels.
That would make the total height of the second object be 20 * (50 + 20) = 1400
Since you are actually moving the second images position the upper left corner location of that second object is going to be your offset.
so say you are looking at image #7 to have your program know that it’s image 7 that is seen take the y pos for the second object and flip it to make it positive. Iterate over the children in the second object until you get an image that has the closest y pos to the abs of the second object y pos. you can subtract that images y pos from the second objects y pos to get the difference between the 2 and do the same for the child after and which ever is not a negative number is the winner for being the closest to the center which would be your “selected” object…
click this link
and paste the code below into the simulator and press the restart button. Then grab the “roller” and move the mouse up and down…
##### startup script #####

#!/opt/bin/lv_micropython -i

import lvgl as lv
import display_driver
import fs_driver


##### main script #####

mask_top_id = -1
mask_bottom_id = -1


fs_drv = lv.fs_drv_t()
fs_driver.fs_register(fs_drv, 'S')


font_montserrat_22 = lv.font_load("S:../../assets/font/montserrat-22.fnt")


def event_cb(e):
    global mask_top_id
    global mask_bottom_id

    code = e.get_code()

    if code == lv.EVENT.PRESSING:
        c = e.get_target_obj()

        indev = lv.indev_get_act()

        vect = lv.point_t()
        indev.get_vect(vect)
        # x = obj.get_x() + vect.x
        y = c.get_y() + vect.y
        c.set_y(y)

    elif code == lv.EVENT.COVER_CHECK:
        e.set_cover_res(lv.COVER_RES.MASKED)

    elif code == lv.EVENT.DRAW_MAIN_BEGIN:
        # add mask
        coords = lv.area_t()
        obj.get_coords(coords)

        rect_area = lv.area_t()
        rect_area.x1 = coords.x1
        rect_area.x2 = coords.x2
        rect_area.y1 = coords.y1
        rect_area.y2 = coords.y1 + 50

        fade_mask_top = lv.draw_mask_fade_param_t()
        fade_mask_top.init(rect_area, lv.OPA.TRANSP, rect_area.y1, lv.OPA.COVER, rect_area.y2)
        mask_top_id = lv.draw_mask_add(fade_mask_top, None)

        rect_area.y1 = rect_area.y2 - 50
        rect_area.y2 = coords.y2

        fade_mask_bottom = lv.draw_mask_fade_param_t()
        fade_mask_bottom.init(rect_area, lv.OPA.COVER, rect_area.y1, lv.OPA.TRANSP, rect_area.y2)
        mask_bottom_id = lv.draw_mask_add(fade_mask_bottom, None)

    elif code == lv.EVENT.DRAW_POST_END:
        fade_mask_top = lv.draw_mask_remove_id(mask_top_id)
        fade_mask_bottom = lv.draw_mask_remove_id(mask_bottom_id)
        # Remove the masks
        lv.draw_mask_remove_id(mask_top_id)
        lv.draw_mask_remove_id(mask_bottom_id)
        mask_top_id = -1
        mask_bottom_id = -1

        wheel_y = abs(wheel.get_y()) + 50

        closest_child = 0
        closest_diff = wheel_y * 2

        for i in range(wheel.get_child_cnt()):
            wc = wheel.get_child(i)
            wc_y = wc.get_y()

            diff = abs(wc_y - wheel_y)

            if diff > closest_diff:
                continue

            closest_diff = diff
            closest_child = i


        wc = wheel.get_child(closest_child)
        wc.get_child(0).set_style_text_font(font_montserrat_22, 0)
        if closest_child > 0:
            wc = wheel.get_child(closest_child - 1)
            wc.get_child(0).set_style_text_font(lv.font_montserrat_14, 0)

        if closest_child < wheel.get_child_cnt() - 1:
            wc = wheel.get_child(closest_child + 1)
            wc.get_child(0).set_style_text_font(lv.font_montserrat_14, 0)


#
# Make an object dragable.
#
style = lv.style_t()
style.init()
style.set_border_width(0)
style.set_outline_width(0)
style.set_pad_all(0)


obj = lv.obj(lv.scr_act())
obj.center()
obj.set_size(53, 148)
obj.set_style_pad_all(0, 0)

wheel = lv.obj(obj)
wheel.set_width(50)
wheel.set_x(0)
wheel.set_y(-4)

wheel.add_style(style, 0)


y = 1
for i in range(1, 21):
    child = lv.obj(wheel)
    child.set_size(60, 50)
    child.set_y(y)
    child.set_x(-5)
    child.add_style(style, 0)
    child.set_style_outline_width(2, 0)
    child.clear_flag(lv.obj.FLAG.CLICKABLE)

    y += 50
    wheel.set_height(y)

    label = lv.label(child)
    label.set_text(str(i))
    label.center()

    child.clear_flag(lv.obj.FLAG.SCROLLABLE)


wheel.set_height(y + 1)
wheel.clear_flag(lv.obj.FLAG.SCROLLABLE)
obj.clear_flag(lv.obj.FLAG.SCROLLABLE)

wheel.add_event(event_cb, lv.EVENT.ALL, None)
convert the code to C code and swap out the label for an image and replace the setting of the font for change the zoom of the image.
The image that you put into where the 22 point font is set, set that zoom to 250 and the other 2 set the zoom to 125 or whatever you want so long as the number is smaller than 250


