How to structure the GUI?

Description

Hi everyone!

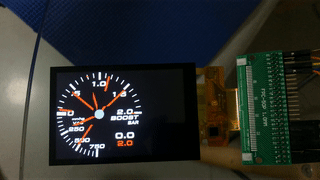
David here, I’m new to LVGL, been playing around with Arduino for about a year now and have built a data display for my car using a Teensy 4 and a 3.5" SPI display. My project works well but it only has two “screens” - a welcome screen and the main data display screen.

As my project evolves, I need to seriously upgrade the UI to allow changing settings, scales, units as well as configuring an SD card and hopefully play back logged data on a graph.

To get an idea of what my project does, here is a video of it:

So with the background explained, I need some serious guidance on how to even start the “layout” of my screens.
I’m having a hard time understanding the documentation and hopefully the awesome community here can help me out with that!

I want to create a total of 4-8 pages/screens. Here is my ideal layout.

  1. Welcome screen (with an animation perhaps)
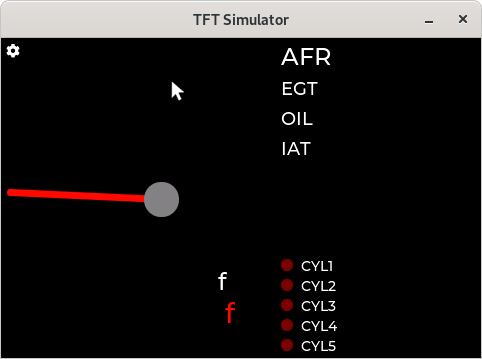
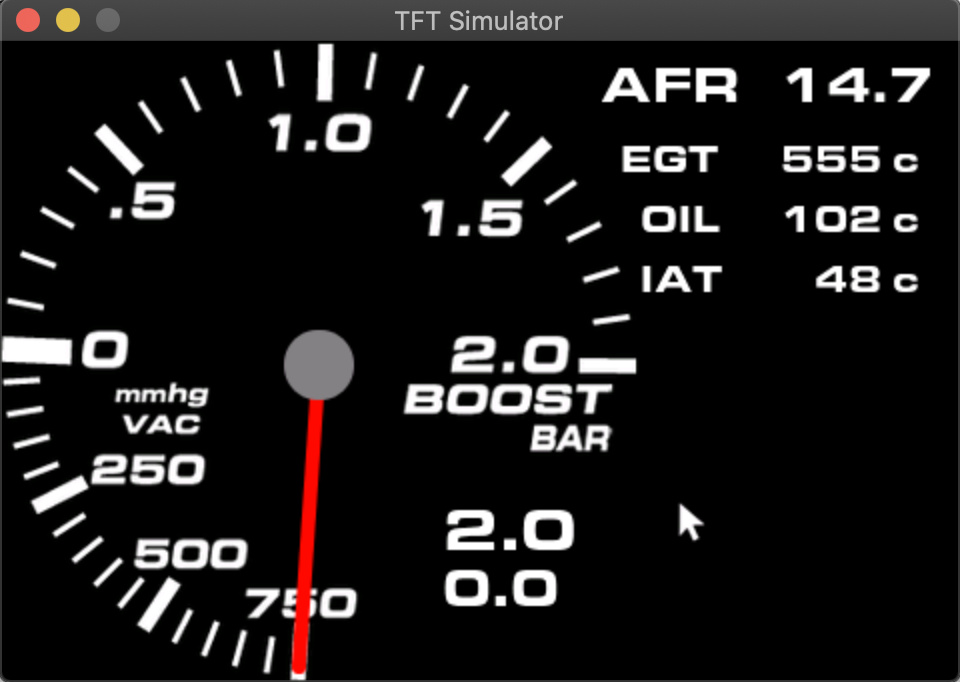
  2. Main screen that includes the gauge and the other numeric data points
  3. Menu screen
  4. SD card config screen
  5. General Configuration screen
  6. Data logger screen
  7. Data playback screen on a graph
  8. Goodbye screen with (an animation perhaps)

When the unit is powered up/woken up, the welcome screen appears and within 3-5 seconds goes to the main screen.
From the main screen the user can access the Menu screen, and from there reach any of the other screens.
When the unit goes into sleep mode it will play the Goodbye screen and power down.

So main goal for now it configure the following:
Welcome screen, Main screen (gauges), Menu screen, Goodbye screen.
My question is, how should I approach this? Should I create a generic object for each screen, or should it be a window, or a page, or a container?

And within the Menu screen, should I make the other screen child objects of the menu screen or should they be individual objects/screens/pages/windows?

I would also like to create a smooth transition between screens, to get that “mobile device” look/feel.

I don’t have a limitation on Flash memory or RAM on the Teensy 4.1 (8Mb Flash & 1Mb internal RAM + 8Mb external PSRAM)

Thank you for taking the time to read this :sweat_smile:

What MCU/Processor/Board and compiler are you using?

Teensy 4/4.1, Teensyduino 1.53

What do you want to achieve?

Learn which approach is best for starting the GUI layout

What have you tried so far?

Just the demo’s on the PC simulator and a clean gauge object with custom background image

2 Likes

You can create screens for each “view”. E.g. lv_obj_create(NULL).

If you have plenty of RAM you can create all the screen during the initialization and just switch between them with lv_scr_load().

To leave the welcome screen after some time you can create and lv_task and make it run only once (lv_task_once()) to load the main screen.

You can create any number and type of widgets on a screen to organize its content. It depends on the layout and features of the menu whether you should split it into multiple screens or not.

It’s possible to load screens with aniamtions. See the docs here.

thanks @kisvegabor, and will it only redraw objects that have changed, or does it redraw the whole screen every time? To what extent does it redraw? Is it shapes, bounding boxes, pixels?
I’m almost done replicating the display layout on LVGL and will be putting it to test soon:

It redraws all objects within an automatically calculated bounding box. For instance, if you rotated the needle, the sections of the gauge background that were/are under it would be redrawn.

And what about the text - for instance, all the numbers, if they do not change I assume there is no reason to update them, correct?

Exactly. LV calculates an invalidated area every time something changes and only redraws that area. So only what changes gets redrawn.

I’ve made quite some progress the past few days and I’ve been able to mostly replicate the layout I have on my current project with some enhancements :slight_smile:

Here’s a screenshot of the progress:

What I would like to do is create containers on the page that group different widgets in a container for the purpose of two things: Animations and click events
Here’s an illustration of what I want to do:

I want to create two main containers as can be seen in the Yellow and Purple outlines. They will overlap a bit as can be seen (is this possible?)
Within the Yellow container, I want to create another container as can be seen in Red that groups the two labels and can trigger a callback when that entire section is clicked.
In the Green container I would like to do the same thing as described in the Red container above.

My attempts so far have been unsuccessful.

Can any of the requirements be accomplished?
Here’s the code lvgl_gauge.c (17.7 KB)

My guess is that the guage border style is not what you want since you want 2 boxes for the border? You should be able to use draw rectangle to draw a box around the parts you want. If you have issues with the overlap like you did last time you may want to put it directly in the gauge draw function with an if statement so it only draws the containers for this gauge and not every gauge.

Otherwise option is to a container first and put the labels on that then set the border style for your labels.

@excitedbox I don’t want to draw an actual border, I just want to group objects together so that I have two main objects in the screen: the gauge as an object, and the parameters (labels) on the right side as an object. The outlines I drew were just to demonstrate what the bounds of the objects should be.

To create groups like this you can simply create lv_objs, remove their style (lv_obj_clean_style(obj, LV_OBJ_PART_MAIN)) to make them transparent and add an event to this transparent box.

To expand on what our dear leader of few words and short descriptions has said. :smiley: 
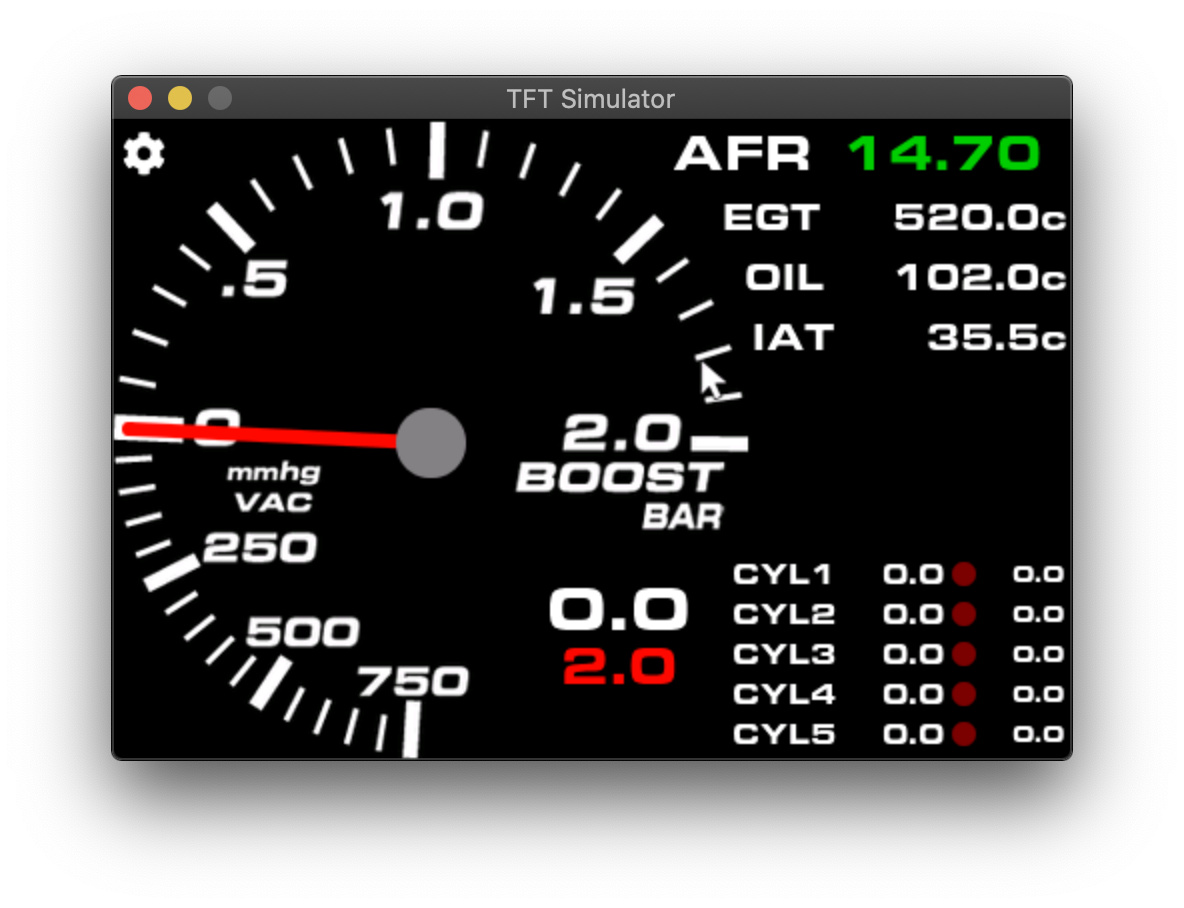
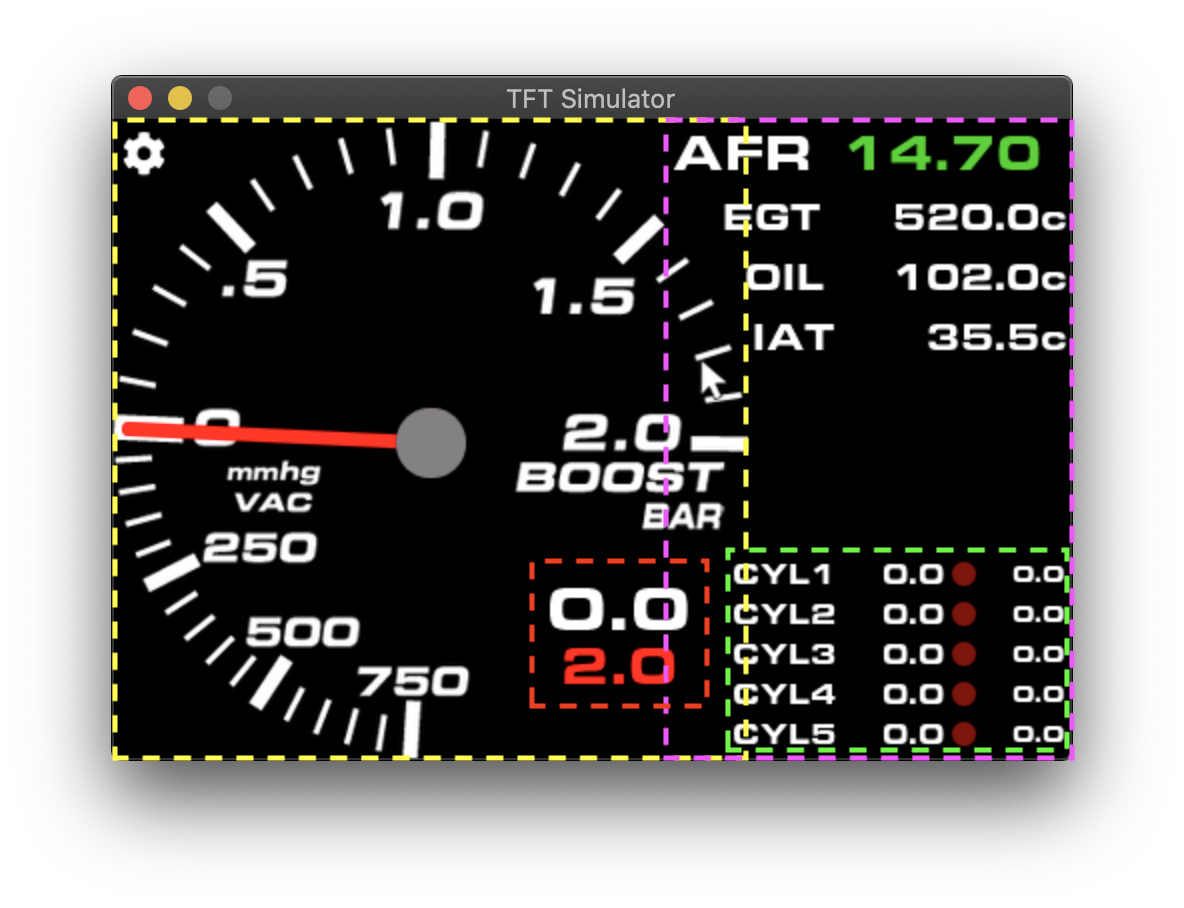
Create a container obj for the gauge and a container obj for the labels and then make a bunch of labels with events to update their text. Remove the styling on the container object to make the background transparent. Then you can use alignments to put the label container overlapping the gauge without blocking it. If you have issues with the order of the objects use the bring to front function as has been suggested before.
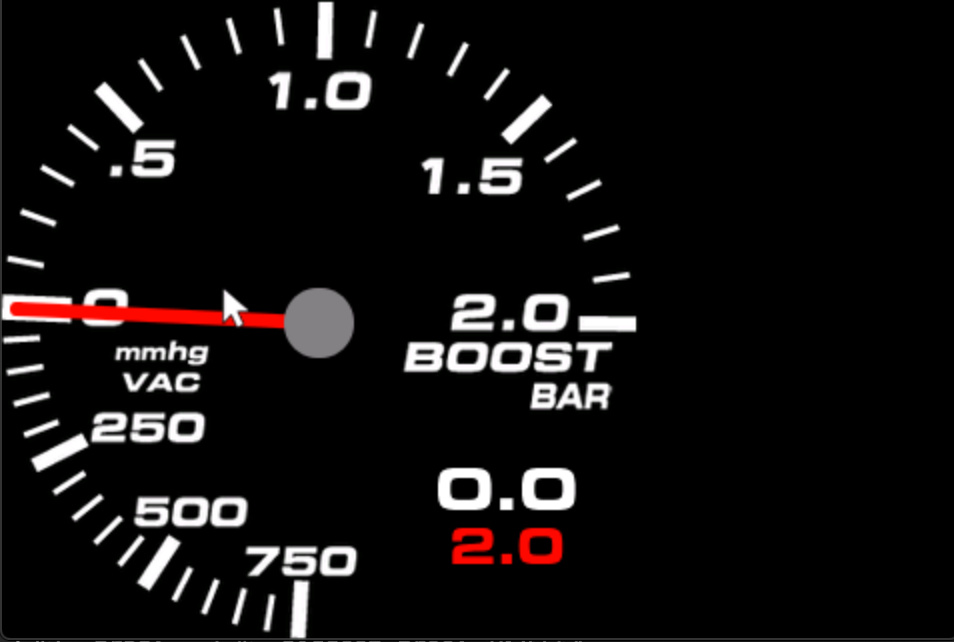
Thanks both!

I tried your suggestions and its partially working.

I have my main object called obj0 which covers the entire display

lv_obj_t * obj0 = lv_obj_create(lv_scr_act(), NULL);
lv_obj_set_width(obj0, 480);
lv_obj_set_height(obj0, 320);
lv_obj_set_x(obj0, 0);
lv_obj_set_y(obj0, 0);

I created two more objects, gauge_cont and param_cont that each contain their own items (gauge, labels, leds)

lv_obj_t *gauge_cont = lv_obj_create(obj0, NULL);
lv_obj_clean_style_list(gauge_cont, LV_OBJ_PART_MAIN);
lv_obj_set_x(gauge_cont, 0);
lv_obj_set_y(gauge_cont, 0);
lv_obj_set_width(gauge_cont, 320);
lv_obj_set_height(gauge_cont, 320);

lv_obj_t *param_cont = lv_obj_create(obj0, NULL);
lv_obj_clean_style_list(param_cont, LV_OBJ_PART_MAIN);
lv_obj_set_x(param_cont, 280);
lv_obj_set_y(param_cont, 0);
lv_obj_set_width(param_cont, 200);
lv_obj_set_height(param_cont, 320);

The gauge and it’s labels display as expected, but all the other labels and leds are gone

If I remove lv_obj_clean_style_list(param_cont, LV_OBJ_PART_MAIN); I get a white box where the labels should be. So basically the issue is that anything within param_cont don’t display when in their own object container

So I have this running now on my Teesny, but I’m experiencing an issue both on the pc simulator and the Teensy.
I recorded it here for you to see on the Teensy:
ezgif.com-video-to-gif

As mentioned, this happens on the PC Simulator as well.
I’m using an animation to move the needle up and down

The labels and leds are gone because I think you forgot to change the parent of these objects.
Set the parent to the container param_cont and make sure you adjust the fixed xy possition, otherwise they will be outside of the screen and will be not visible.
Mind sharing the background image? :slight_smile:

I renamed the parent on all of them, but for some odd reason they won’t come up :frowning:

But the issue I was referring to in the last post was the needle breaking up when moving. Its a bigger issue for me at the moment so I’d rather address it first.

Regarding the background image - do you want the .c file or a PNG? I also have it in PSI if you’d want that too. Resolution is low though, around 440px * 440px, so I hope that works for you

PNG is fine. I’m trying to build it from the previous .c file which you’ve shared.
For me so far they are visible, but I haven’t got any animation yet.

I’ll get them sent over tomorrow, the wife will kill me if I don’t close the lid any moment :joy:

hahaha you better close that :rofl: good night!
Screenshot from 2020-09-15 00-50-07

I’ve fixed the issue with the label container. I didn’t realize that my x,y coordinates were zeroed within a new object, so I just took the old X values and subtracted 280 from them - this seems to have fixed the issue and now all it displaying as it should!

But I still face the needle breakup on both the PC simulator and the Teensy :frowning:

I suspect the gauge might not be invalidating its background correctly. This will be a bit slow, but for testing purposes, can you call lv_obj_invalidate on the background image object and the gauge each time you move the needle?

1 Like