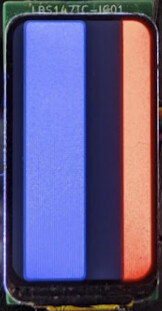
I tried this code on PlatformIO (ESP-IDF) with my 172x320 ST7789 display and it works.
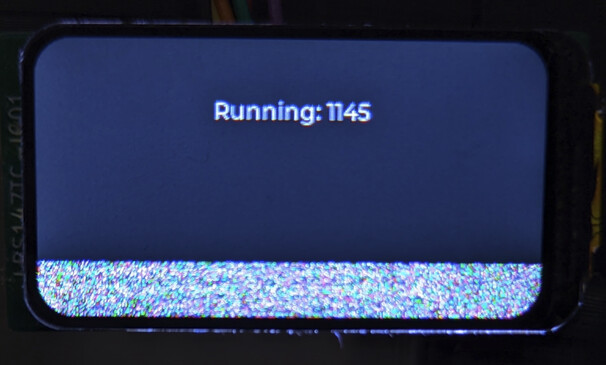
However, if I set DISP_VER_RES to 172, the image doesn’t span the entire height, leaving a disabled area at the bottom with what seems power-up garbage:
I tried looking in the driver datasheet, but the only thing that looks similar to setting the display effective area are the CASET and RASET commands, which don’t seem to do anything when sent like this (AI generated code):
I left mine at the controller resolution of 320x240. I also rotate my display. And all other values gave me problems in one way or another - including using Square-line for design.
And I just learned to live with some hidden pixels…
You more than likely have the resolution set backwards for some crazy reason a lot of display are the larger number as the height and the smaller as the width. It’s just how they are done so you might want to check that out.
I’m aware the native display orientation is portrait, so it’s 320px tall and 172px wide. That’s why I’m rotating the display by 90º when using the TFT_eSPI library, where resolution is also defined like this:
Now, with the esp_lcd driver, if I swap the resolution values like you suggested:
#define TFT_HOR_RES 172
#define TFT_VER_RES 320
no matter the configured 4 rotation values (enabled or disabled) the image never spans from one border to the opposite, if the configured resolution is smaller than 240.
EXAMPLE:
With no rotation, by using these values:
#define DISP_HOR_RES 240
#define DISP_VER_RES 320
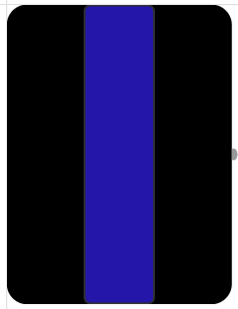
and the same resolution in my UI editor, this is what we should see:
and that’s what we indeed get:
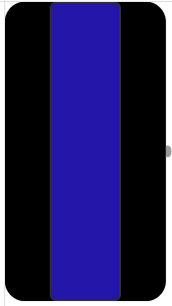
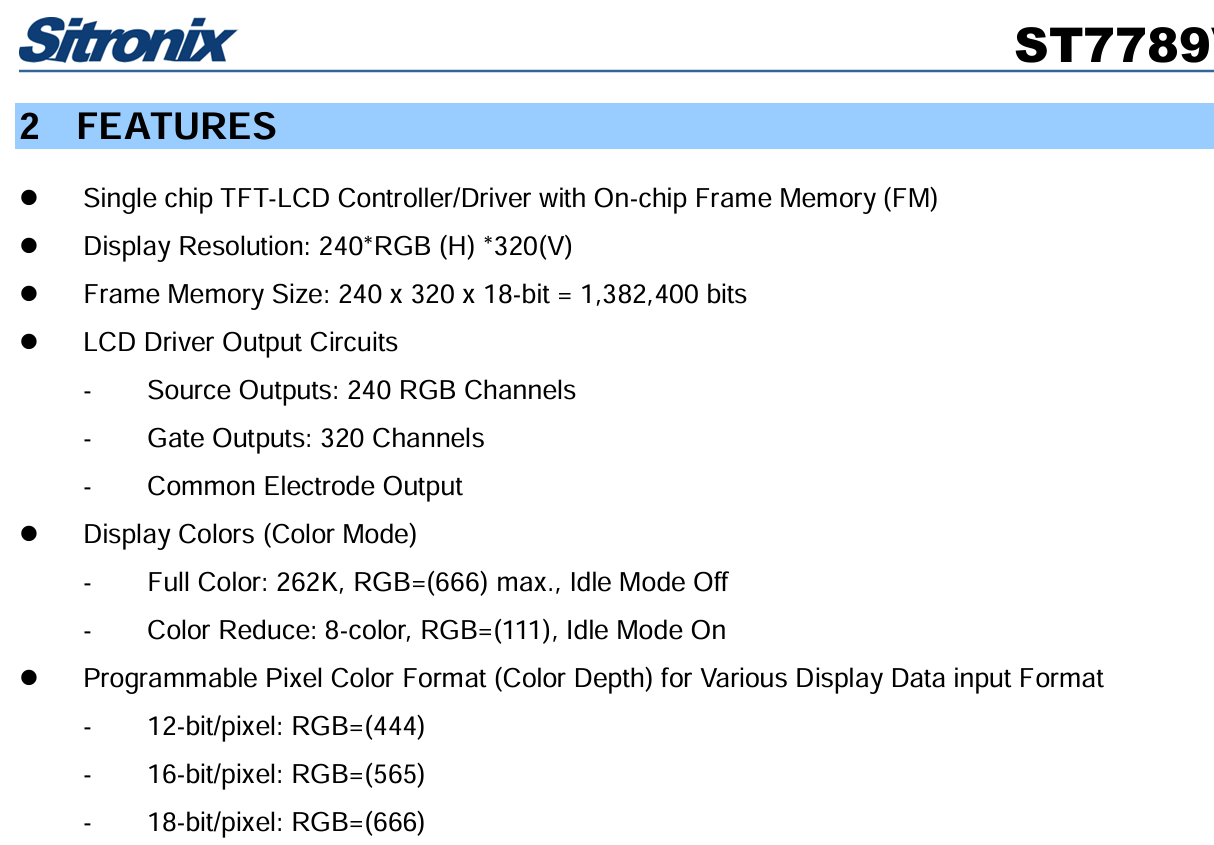
Unfortunately, if you reduce DISP_HOR_RES to 172 on both code and in the UI editor, this is what we should see:
but this is what we get:
The blue centered band doesn’t look centered because some vertical area on the right is disabled. It looks black because it’s garbage from the previous program.
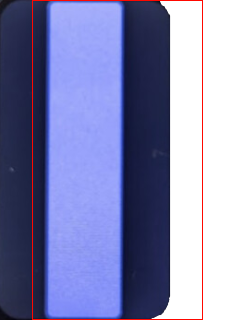
If we force a full red background (240x320) and then try again, we can see in red the disabled area on the right:
Try go back to basics. Controller memory is arranged for full displays. If realy your is 172 , then require special init and not only setup lib to ST7789
You need to set the offset x value in order to get it to write properly…
The display IC is made to work with a fixed resolution. So if a display that has a smaller resolution is connected then you are going to need to shift the image over in VRAM. Think of it this way…
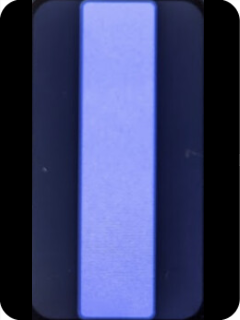
Here is an image with what you display is outputting overlsayed on top of the buffer data for 240 x 320
When you decrease the buffer data size to 172 x 320 This is what happens.
The display IC is still expecting to have it’s buffer data of 240x320 filled but you are only providing data that is going to fill 172 x 320 and that data is being filled starting at position 0,0. the red rectangle denotes where the display is suitated in that buffer data.
This is the reason why what you are seeing is pushed over to the left.
All you need to do to correct this is in your flush function add 34 to the X axis if the rotation is 0° or 180° otherwise add it to the Y axis
Here’s the final flush function in case anyone needs this for reference:
static void flush_cb(lv_display_t *disp, const lv_area_t *area, uint8_t *px_map)
{
    int x1 = area->x1;
    int x2 = area->x2;
    int y1 = area->y1 + 34; // Offset image to compensate for smaller 172px resolution
    int y2 = area->y2 + 34; // Offset image to compensate for smaller 172px resolution

    // uncomment the following line if the colors are wrong
    lv_draw_sw_rgb565_swap(px_map, (x2 + 1 - x1) * (y2 + 1 - y1)); // I have tried with and without this

    esp_lcd_panel_draw_bitmap((esp_lcd_panel_handle_t)lv_display_get_user_data(disp), x1, y1, x2 + 1, y2 + 1, px_map);
}
Yes, that works.
It’s what your original code has but it makes working with a UI editor a nightmare, as you need to set the same resolution there but you wouldn’t be working with your real display size.
Check kdschlosser’s last reply or mine for the fix.
Ah, just realized its mine Its a little out a tangent, compared to my original questions, that was solved earlier. I will mark the best solution for the original question as the solution.
How have you been able to use SQ-line for design with such a setup?
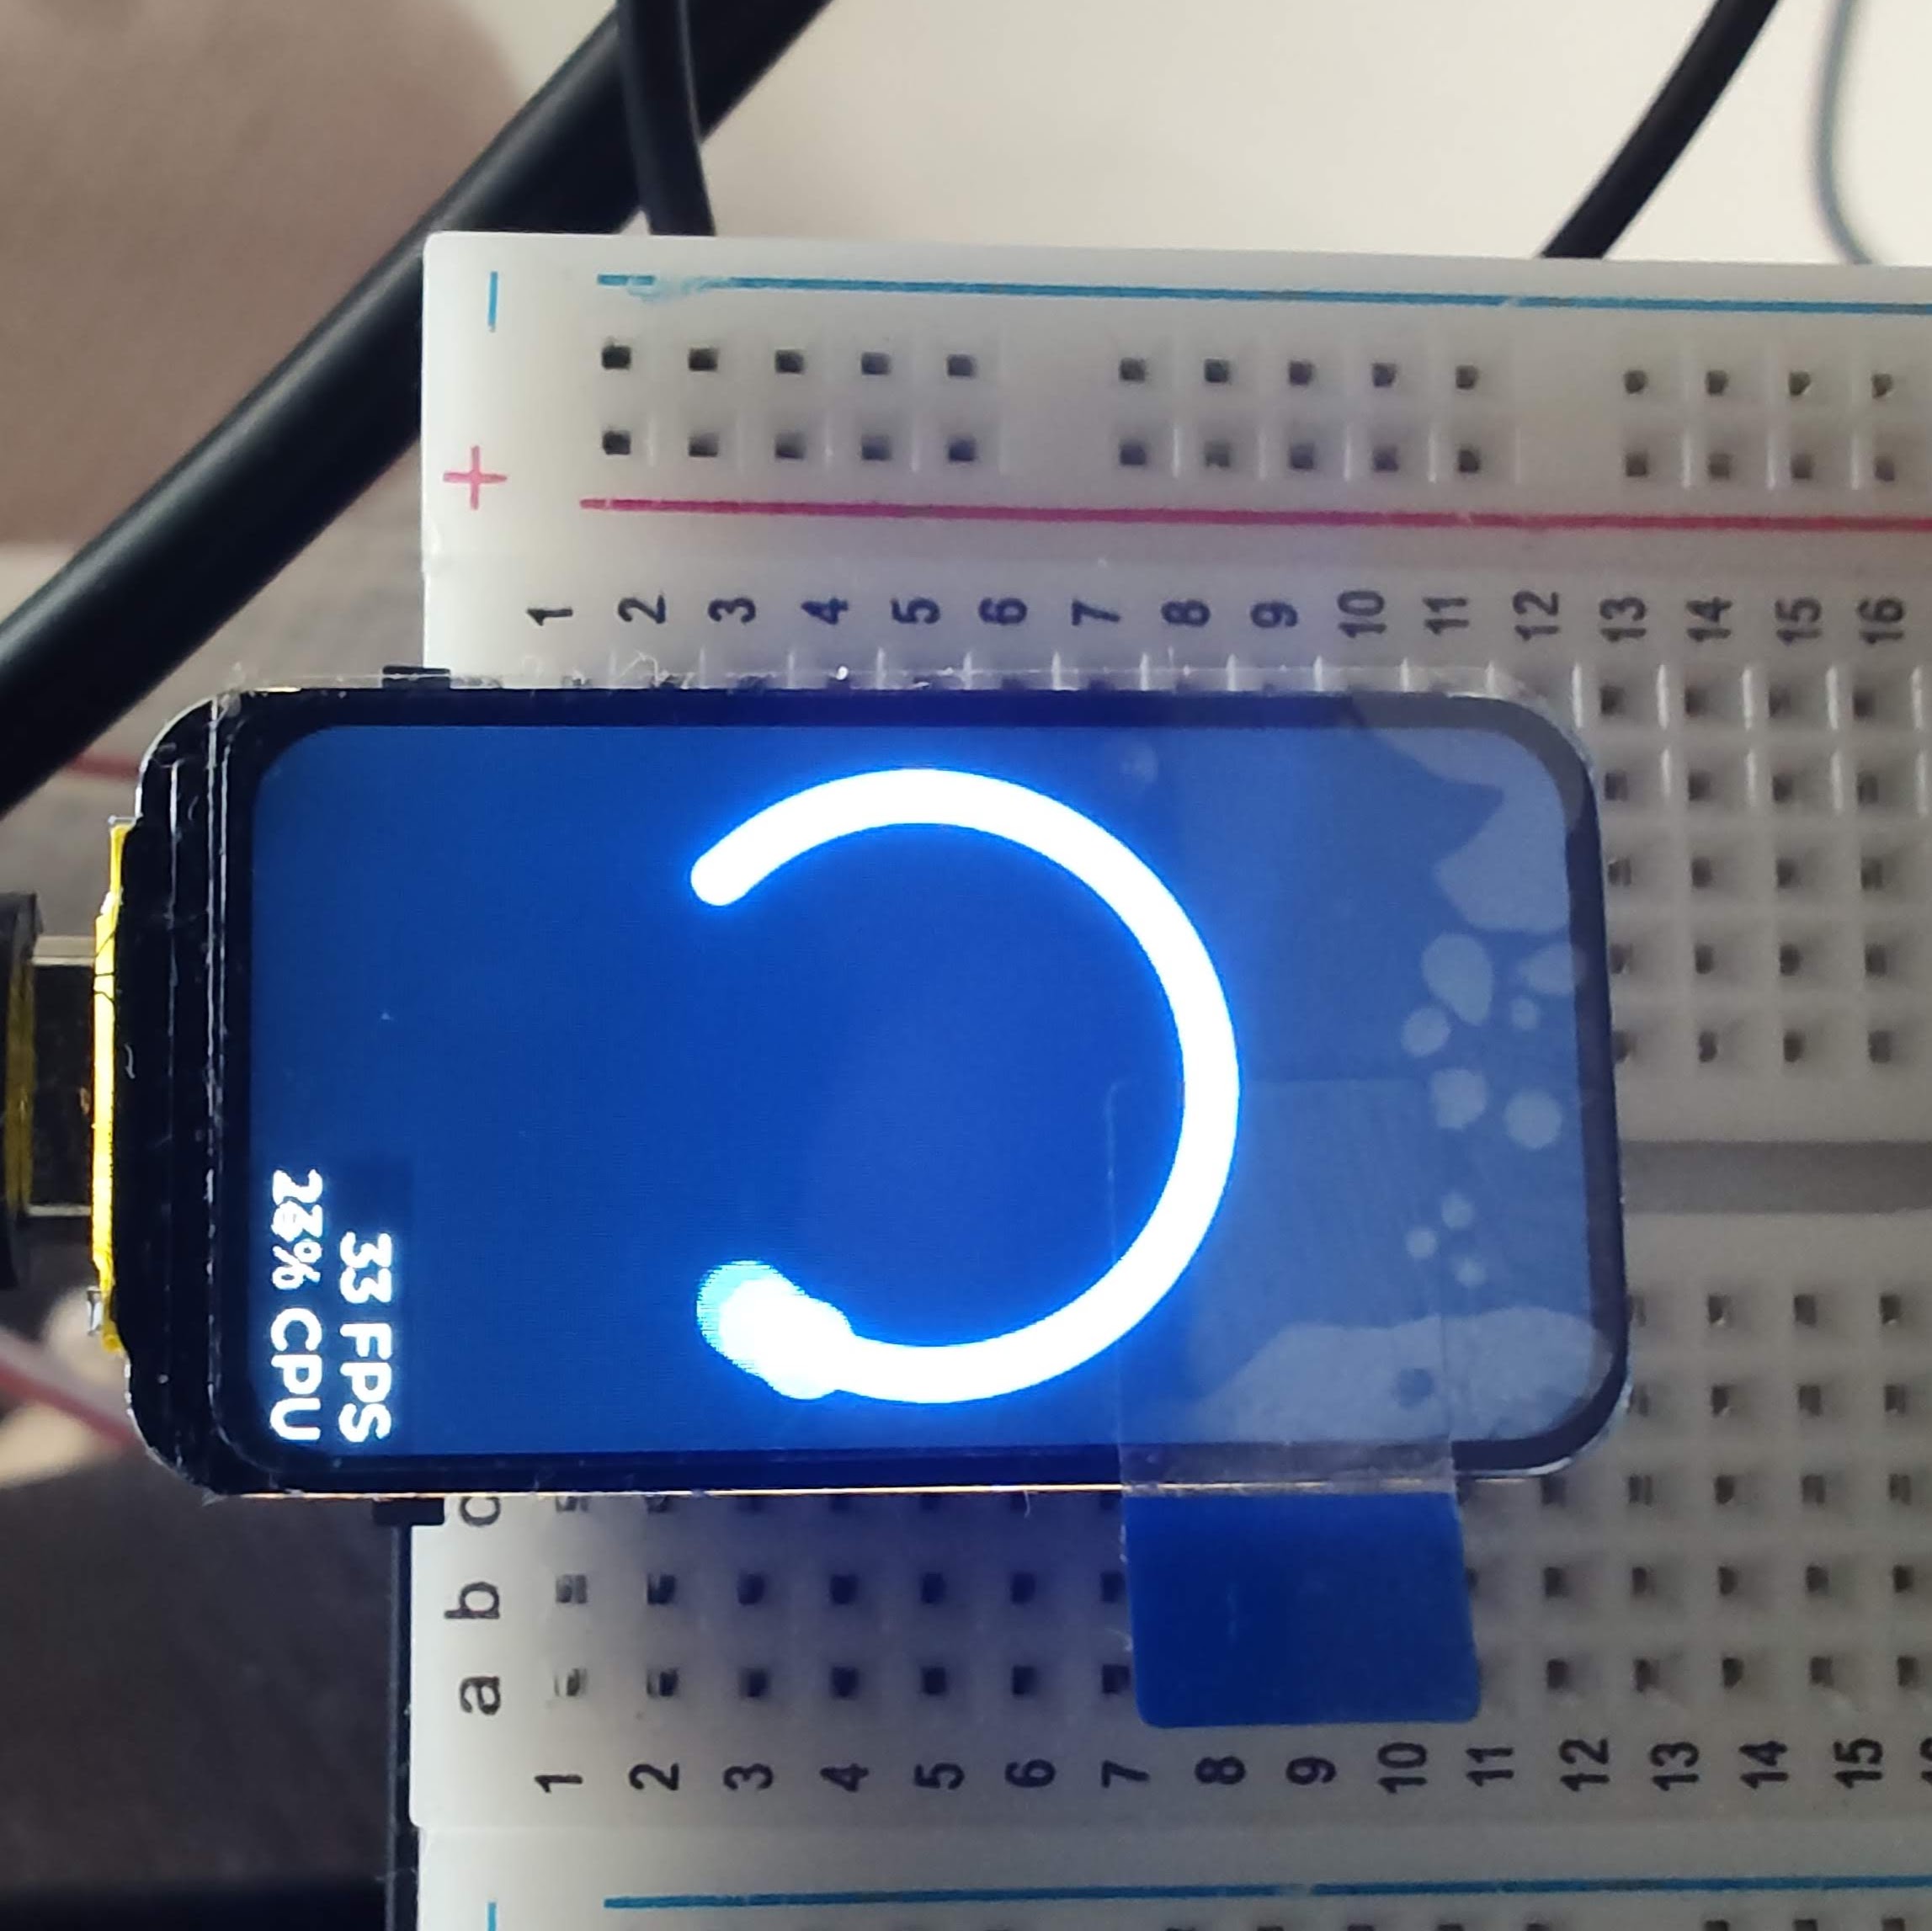
I have a display: ST7789V3 on the board: ESP32-C6-LCD-1.47, and thanks to the current topic and all people’s involvement, I could draw text and counters on my setup.
Thanks a lot!
But I still struggle to use SquareLine Studio, any simple UI crashes the board immediately!
I was trying to resize the SQ working plane to 172x320, was trying to use “VS Code with SDL” project, or even Arduino and IDF projects with a similar resolution - but no luck!
Repo:
Log with traces for a simple text object:
There are a few log outputs, and all I can understand is that it’s probably using some older API or I used everything wrong.
UPD1:
For consistency and reproducability, I’ve also used this example:
Made a ui dir in the main folder and exported SQ files in NOT flat export.
Changed ui.h to direct import #include "lvgl.h"
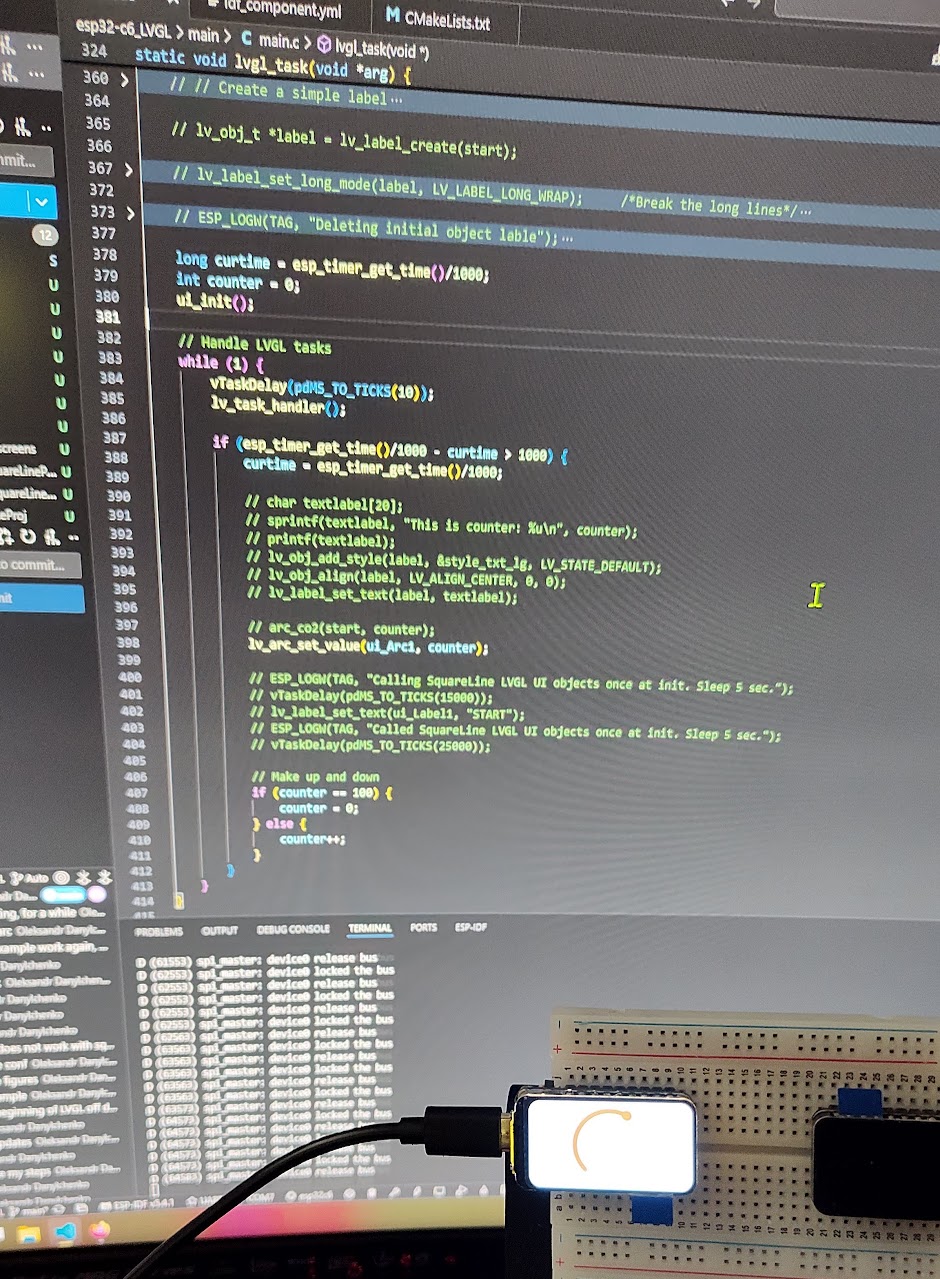
I’ve changed the main file a little to have a fake int 100 counter:
    int counter = 0;
    ui_init();
    while (1) {
        // raise the task priority of LVGL and/or reduce the handler period can improve the performance
        vTaskDelay(pdMS_TO_TICKS(10));
        // The task running lv_timer_handler should have lower priority than that running `lv_tick_inc`
        lv_timer_handler();
        lv_arc_set_value(ui_Arc1, counter);
        // Make up and down
        if (counter == 100) {
            counter = 0;
        } else {
            counter++;
        }
    }
And it works!
It seems like this is required! ui_init();
Without such a call, I have seen the same crash as above.
The reason why is there is no reason why you should regraw the entire display if only a small portion of it has changed. This shrinks the buffer size down to 1/10th of what is was so if a small area gets updated the only the area that will fit into the buffer is going to be rendered. This will speed things up quite a bit.
I was searching for that RGB ordering and failed to see it right before my eyes, thanks!
The buffer is now back to 2/10th. I was trying to solve that issue with crashing, thinking it might be going over the buffer.
Everything works fine now.
I can directly use SQ Studio files.
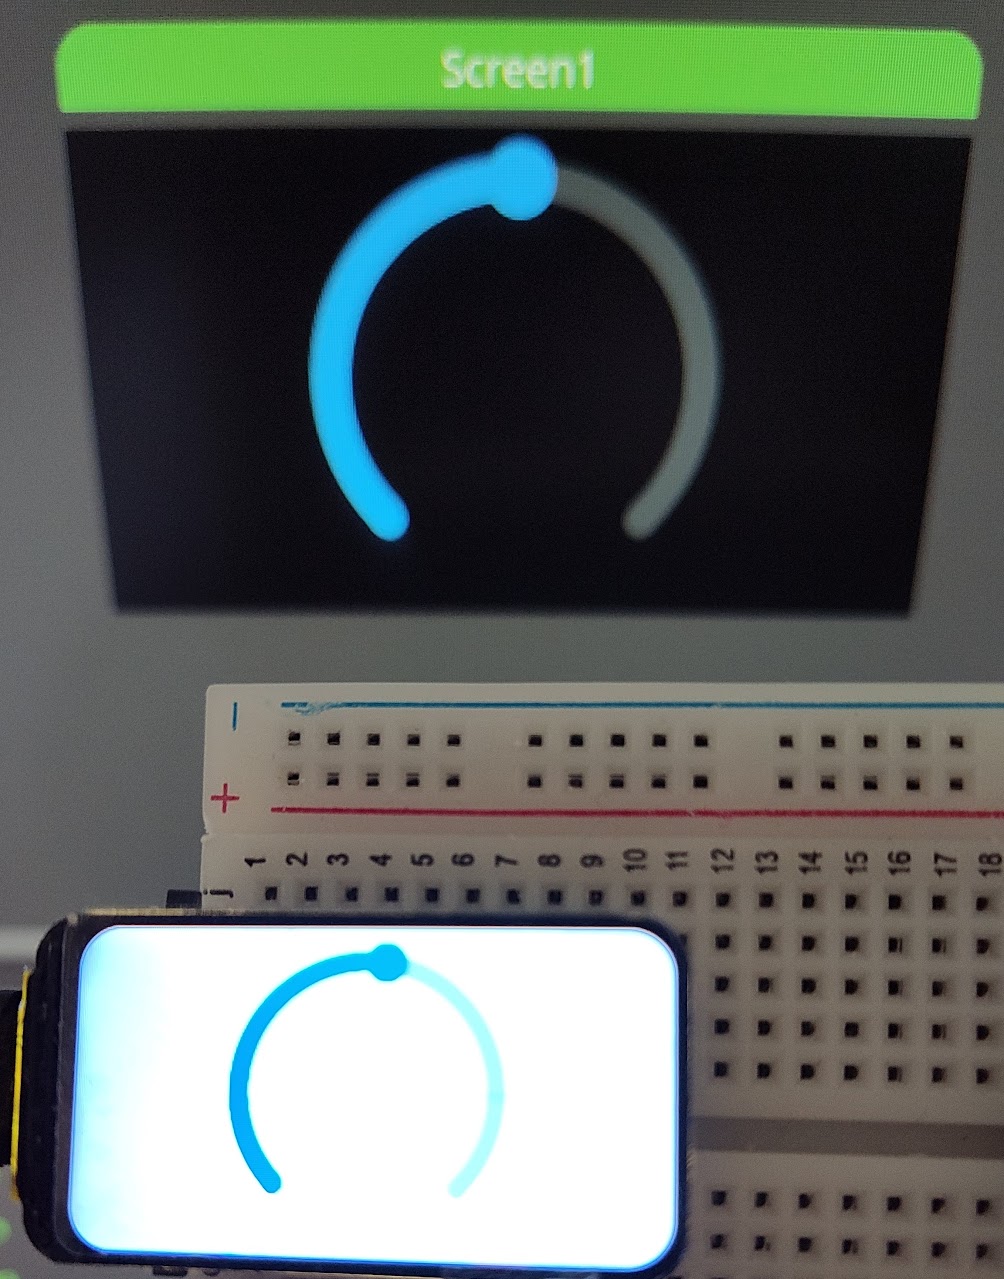
Yet I’m trying to understand why the black background from SQ Studio dark theme is white here.
I suppose I’ve missed some boolean, but I will check it and update the post later.
This is maybe the SQ line studio itself somewhere mixed the colors.
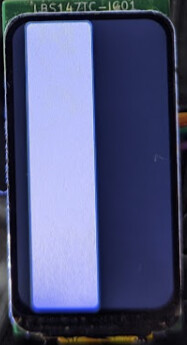
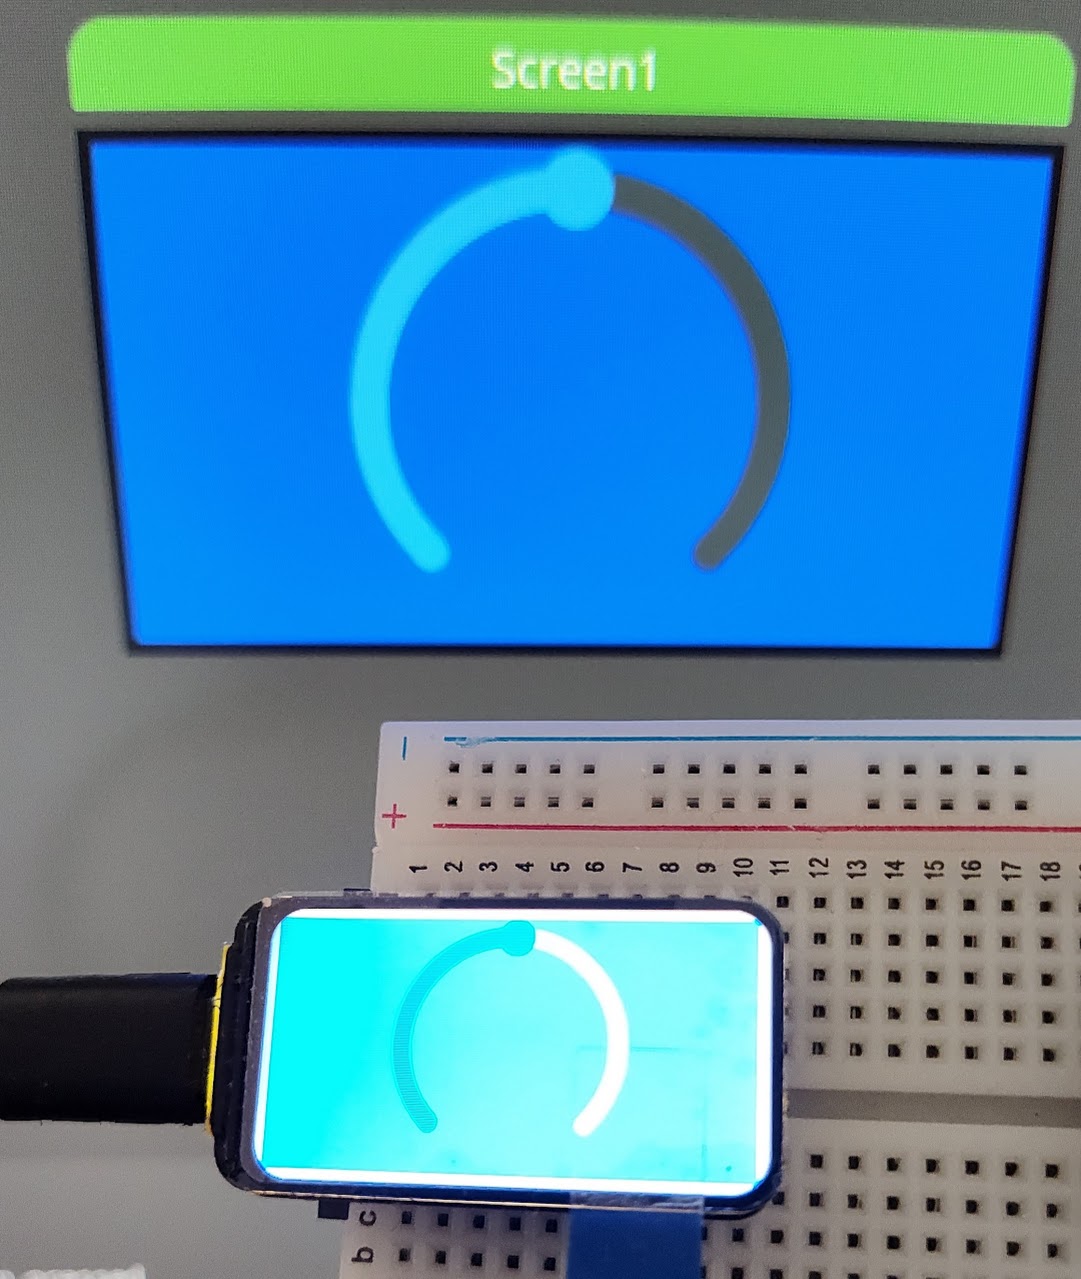
I’ve made a blue background with a black border.
We can see the blue is pretty close to “blue” however, the black border is clean white.
I’ve changed to BW mode, and it only changed the Arc object colors.
Somewhere there is a setup for the screen that overrides the SL Studio setup for the same option.
the white is coming from LVGL. that is the default background color. You need to set the background color of the “screen” object to black with an opacity of 255.
    esp_lcd_panel_mirror(panel_handle, false, true);
    esp_lcd_panel_swap_xy(panel_handle, true);
# you may have to change it to false. it all depends if the driver has turned it on as a default.
esp_lcd_panel_invert_color(panel_handle, true);