Advice needed to display images with LV_COLOR_DEPTH 1

Description

I am trying to display images when LV_COLOR_DEPTH is 1 and I’m running into issues. I have been able to successfully do this without LVGL so I’d assume it’s possible to do it with this library.

What MCU/Processor/Board and compiler are you using?

All the examples are using the SDL simulator with VS Code on Ubunut 20.04, but my ultimate goal is to control the GDEW042T2 e paper display with a Raspberry Pi 4.

What LVGL version are you using?

Version 8.0.0 for the simulator. Version 8.3.8 on the Raspberry Pi 4 and I’m getting the same results.

What do you want to achieve?

I want to display images on a e paper display during runtime eventually, but currently I’m hitting roadblocks trying to do it with compiled data.

What have you tried so far?

I cloned the VS Code simulator built and ran the code without a problem with LV_COLOR_DEPTH set to 32. I set color depth to 1 in lv_conf.h by changing line 24 the following way.

-#define LV_COLOR_DEPTH 32
+#define LV_COLOR_DEPTH 1

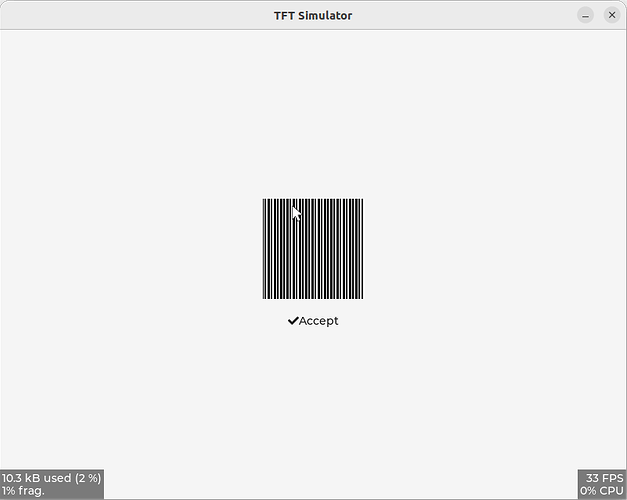
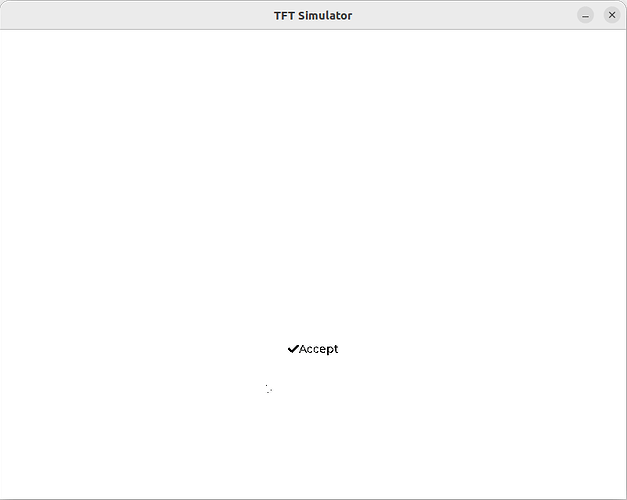
I used lv_example_img_1 on both the simulator and the final hardware and the image does not show, but the image label and accompanying text does. Pictures below

Code to reproduce

I used the provided image example code. Not copy pasting to save you from scrolling.

On the final hardware, I am doing bit packing to properly render graphics

#define DISP_HOR_RES 400
#define DISP_VER_RES 300
#define EPD_ROW_LEN         (DISP_HOR_RES / 8u)
#define BIT_SET(a, b)       ((a) |= (1U << (b)))
#define BIT_CLEAR(a, b)     ((a) &= ~(1U << (b)))

/* omitted irrelevant code */
void my_set_px_cb(lv_disp_drv_t * disp_drv, uint8_t * buf, lv_coord_t buf_w, lv_coord_t x, lv_coord_t y, lv_color_t color, lv_opa_t opa)
{
    uint16_t byte_index = (x >> 3u) + (y * EPD_ROW_LEN);
    uint8_t bit_index = x & 0x07u;

    if (color.full) {
        BIT_SET(buf[byte_index], 7 - bit_index);
    } else {
        BIT_CLEAR(buf[byte_index], 7 - bit_index);
    }
}

This renders other examples, for example labels, as expected but images aren’t working. I thought I had to use a monochrome theme but I believe that’s already enabled in line 489 of lv_conf.h

#define LV_USE_THEME_MONO       1

Screenshot and/or video

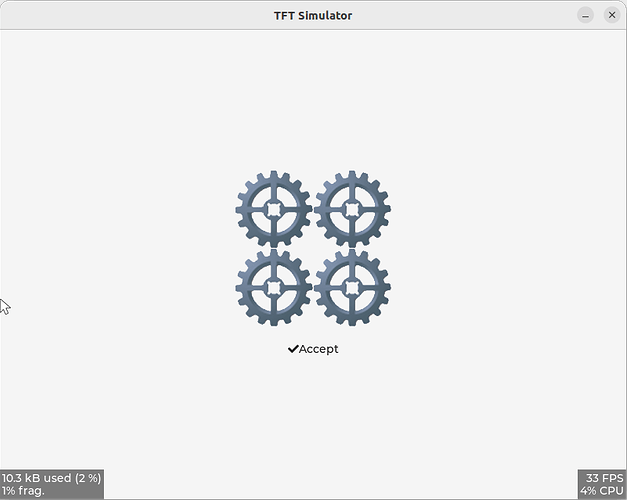
With LV_COLOR_DEPTH set to 32 the simulator works perfectly.

Things get weird with LV_COLOR_DEPTH set to 1

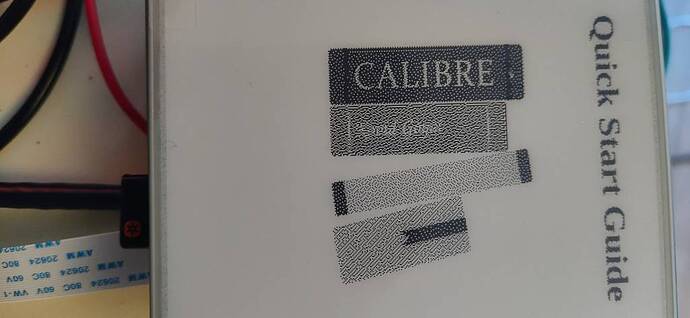
Any tips? Again, without LVGL the final hardware can display images. The screenshot below was taken with handwritten code provided by the vendor displaying an image produced at runtime. I’ve read through the code and it appears to only be using black and white pixel dots, no grayscale and I did not find any fancy image processing. The specific code is here: https://github.com/waveshareteam/e-Paper/blob/master/RaspberryPi_JetsonNano/c/lib/e-Paper/EPD_4in2.c#L585
Hello,

Seeing as displaying text and other elements seems to work fine, I believe the issue here might be the image itself. lv_example_img_1 might not be usable with 1 bit color depth.

Try using the image converter tool: Online image converter - BMP, JPG or PNG to C array or binary | LVGL
to create a 1 bit image (select CF_ALPHA_1_BIT) underneath color options. Any image will probably do as long as it fits on your screen.

See the docs for information on how to include an image in your project:
https://docs.lvgl.io/8.3/widgets/core/img.html

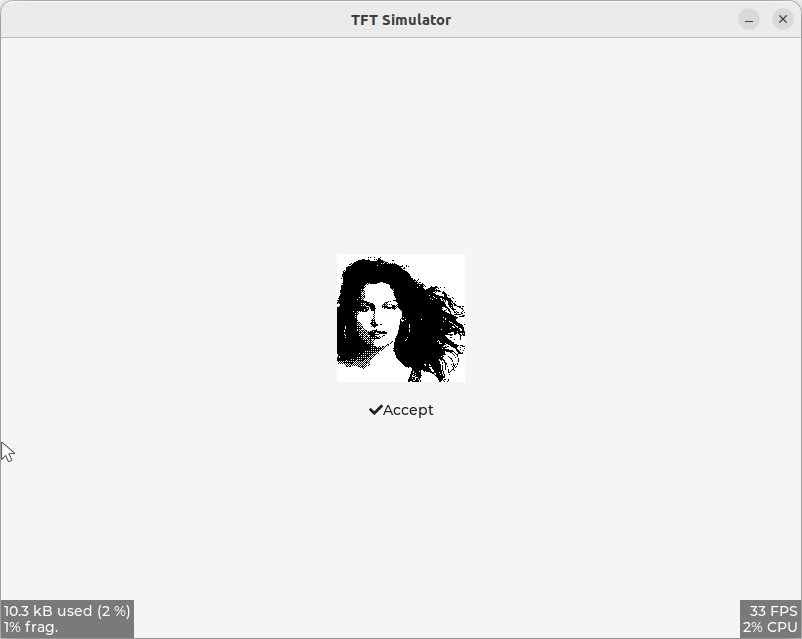
Thank you for the reply @Tinus . I tried using the online converter on this bitmap, http://luc.devroye.org/LaetitiaBats.bmp, to make a CF_ALPHA_1_BIT array. However, the array only contains 0xb3 and renders noise in the simulator.


I rendered the above with this code

    LV_IMG_DECLARE(LaetitiaBats);
    lv_obj_t * img1 = lv_img_create(lv_scr_act());
    lv_img_set_src(img1, &LaetitiaBats);
    lv_obj_align(img1, LV_ALIGN_CENTER, 0, -20);
    lv_obj_set_size(img1, 128, 128);

    lv_obj_t * img2 = lv_img_create(lv_scr_act());
    lv_img_set_src(img2, LV_SYMBOL_OK "Accept");
    lv_obj_align_to(img2, img1, LV_ALIGN_OUT_BOTTOM_MID, 0, 20);

Here is the c file the online converter created.
LaetitiaBats.c (13.1 KB)

I still consider this progress since something is showing up instead of absolutely nothing. I’m going to try to handwrite c arrays to understand what’s happening, but anymore guidance on how to properly convert bitmaps will be greatly appreciated :slight_smile:

Very strange, when I try converting the same bitmap I get a C file with only 0xFF bytes in the bitmap array…
Try the option CF_INDEXED_1_BIT instead, I am currently unable to test this myself but the resulting array looks more promising already. I have attached the file below.

LaetitiaBats_index.c (13.2 KB)

EDIT: After looking at it again, I realised these weren’t 1-bit colors at all. My last option now that I can recommend is trying CF_TRUE_COLOR. This will generate an array with only 0xFF and 0x00, which seems to be more correct.

The C file you shared displays as expected.


Using the online converter with the CF_TRUE_COLOR option outputs nothing as shown in my original post.

However, I was able to make my own image(s) at runtime. Below is a minimal code example. The final hardware is also displaying properly as well.

uint8_t my_custom_image_data[MY_DISPLAY_PIXEL_HEIGHT*MY_DISPLAY_PIXEL_WIDTH];

uint64_t i = 0;
for (int y = 0; y < MY_DISPLAY_PIXEL_HEIGHT; ++y)
{
    for (int x = 0; x < MY_DISPLAY_PIXEL_WIDTH; ++x)
    {
        /* fill my_custom_image_data with pixel information */   
    }
}

lv_img_dsc_t my_custom_image = {
    .header.always_zero = 0,
    .header.w = MY_DISPLAY_PIXEL_WIDTH,
    .header.h = MY_DISPLAY_PIXEL_HEIGHTh,
    .data_size = MY_DISPLAY_PIXEL_WIDTH * MY_DISPLAY_PIXEL_HEIGHT * (LV_COLOR_DEPTH / 8),
    .header.cf = LV_IMG_CF_ALPHA_8BIT,
    .data = my_custom_image_data,
};

lv_obj_t * img1 = lv_img_create(lv_scr_act());
lv_img_set_src(img1, &my_custom_image);

While my original question is answered I do have a related one: What is the difference between CF_ALPHA_1/2/4/8_BIT and CF_INDEXED_1/2/4/8_BIT? I believe CF_ALPHA_#_BIT is akin to the alpha channel on a PNG or other image with a transparency layer, but I’m unsure what CF_INDEXED_#_BIT is. Is it supposed to represent grayscale images?

So, it appears CF_INDEXED_1_BIT is correct after all??
Try another of your own images with it just to test if it works on your end too, I must be misreading the generated C array.

As for the meaning of the color formats, see the documentation:

Various built-in color formats are supported:

  • LV_IMG_CF_TRUE_COLOR Simply stores the RGB colors (in whatever color depth LVGL is configured for).
  • LV_IMG_CF_TRUE_COLOR_ALPHA Like LV_IMG_CF_TRUE_COLOR but it also adds an alpha (transparency) byte for every pixel.
  • LV_IMG_CF_TRUE_COLOR_CHROMA_KEYED Like LV_IMG_CF_TRUE_COLOR but if a pixel has the LV_COLOR_TRANSP color (set in lv_conf.h) it will be transparent.
  • LV_IMG_CF_INDEXED_1/2/4/8BIT Uses a palette with 2, 4, 16 or 256 colors and stores each pixel in 1, 2, 4 or 8 bits.
  • LV_IMG_CF_ALPHA_1/2/4/8BIT Only stores the Alpha value with 1, 2, 4 or 8 bits. The pixels take the color of style.img_recolor and the set opacity. The source image has to be an alpha channel. This is ideal for bitmaps similar to fonts where the whole image is one color that can be altered.

So I guess the index option just uses some color pallete? Not sure to be honest.