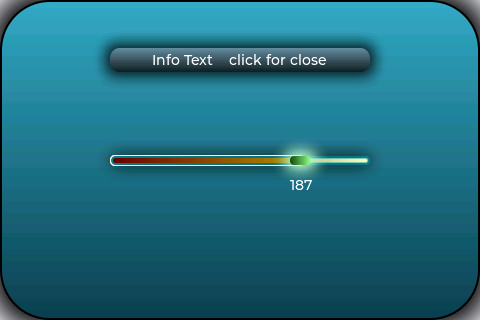
I spent several hours making a routine that worked to take a screenshot of this display (ILI9488), but I finally managed it.
I read several forums and tested the various solutions, but none worked, also because I never found an entire listing for my configuration (ESP32 Dev Kit V1, touchScreen Ili 9488 480x320 and Arduino Ide with Espressif ESP32 libraries), but only scattered routines in which other program blocks to which they referred were missing, or routines that contained instructions not recognized by the compiler and of which I could not find a reference even on the internet.
So, I posted in this .zip file that I attach both the complete .ino file, both the setups I used for the TFT_eSPI and LVGL libraries, and an image with the connections between ESP32 and Touchscreen.
The solution I adopted is this: save the screenshot (which already includes a BMP header) on SPIFFS and then send it to the PC via the serial port in 2 ways that can be seen by opening the serial monitor (115200 baud) of Arduino Ide (by resetting ESP32 or by pressing key 2 which corresponds to a DIR command):
with key 1 followed by a space and the name of the file to be saved always preceded by /, for example 1 /shot1.bmp you get the screenshot of the display that is saved on SPIFFS.
Transfer to PC:
option 1:
3 /shot1.bmp reads all the data of the file saved on SPIFFS and prints them in hexadecimal in the serial monitor, at this point the hexadecimal data are selected, copied, pasted in Notepad ++, in the Notepad ++ plugins there is the option to convert from HEX TO ASCII, you save the converted file with the .bmp extension.
Our file is still 16-bit, so a normal image viewer displays it as a black screen, you must instead open it with XnView (Image Viewer | Photo Viewer | Image Resize | XnView) and at this point you can save it in the format favorite.
Option 2:
using RealTerm (https://realterm.sourceforge.io) in capture mode (you have to close the Arduino Ide serial monitor) and using the capture option and sending the command “t /shot1.bmp” in RealTerm (without brackets), Esp32 transfers the file without other writings to the terminal, the capture is stopped and the file is saved which must in any case be converted with XnView.
I also include a batch file to launch RealmTerm, because the program does not save the configuration (incredible but true), you have to change the serial port number and the default directory to save the file.
The next steps are for the wifi connection, horizontal keyboard, web browser and saving preferences on SPIFF.
Ah obviously the slider that controls the brightness of the screen does not work if you connect the LED pin to 3.3 volts, it only works if it is connected to the PWM of pin 32 of ESP32.
The connection I used is the one represented in the ConnectionDiagram.png image that I attached in the .zip file.
Good fun

Esp32ScreenShot.zip (199.9 KB)